I can’t wait to share this fun learning idea that I stumbled upon this week. While cleaning out my always over-crammed craft and storage room, I found some unused petri dishes from high school (I never throw something out if I think it can be used for arts or crafts!), and I got a brainstorm!
I was supposed to be joining some other awesome bloggers this week to share a discovery BOTTLE that could be used on a light table (or in a sunny window) but I thought the DISHES would be a fun twist instead!
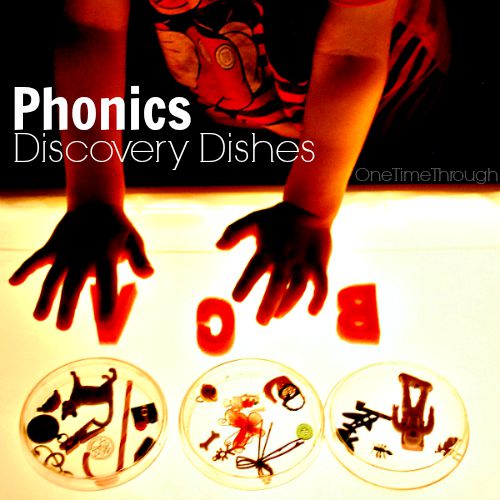
Read on to find out how I turned my “antique” petri dishes into awesome phonics “Discovery Dishes” that can be used in so many ways to teach letter sounds – with or without, a light table!
This post includes Amazon Affiliate links. Please see disclosure for full details.
Supplies to Make Discovery Dishes
- 26+ Petri Dishes

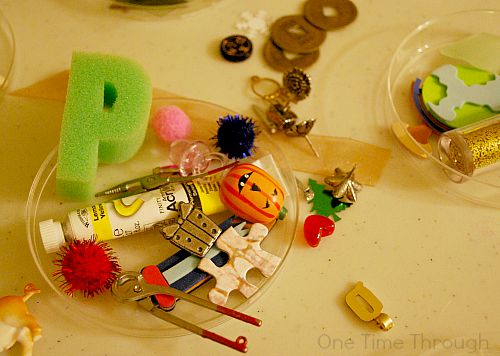
- A variety of small objects that can fit inside the dishes, like:
- old jewellery
- Lego
- scrapbooking and crafting supplies
- dollar store finds
- everyday objects like coins/nuts and bolts
- junk drawer finds
- confetti
- stickers
- miniature animals/people/toys
- A set of alphabet letters: we used sponge letters, but you could print out these paper ones to use, or buy a simple set of wooden ones
- Optional: Hot Glue Gun
- Optional: Light Table – Don’t have one? Make it yourself for $30 like I did! Click here to find instructions.
- Optional: Coloured rice

![]()
How to Make Phonics Discovery Dishes
You will need to collect about 5 little objects that start with each letter of the alphabet.
Note: The only ones that are really tough are V, Q, X and Z. You can always use objects that represent verbs or ideas. Think: vine/Vicks/velcro, quarter/quilt/quick, xylophone/xylem/Xena and zoo/zipper/zap?)
How you make your dishes will depend on how you want to use them with your child.
I experimented with different ways at home and some of them require the dishes to be sealed while others don’t. After you read through the 5 ideas below, you will have a sense of what your child would like the best.
If you plan on sealing your dishes, all you do is place all the objects inside the bottom of the dish (the deeper part) and then squeeze hot glue around the inside of the lid. Carefully place the lid onto the dish.
If you are filling your dish with water, fill the bottom, then add the glued lid – then add glue or a thin strip of duct tape around the outside of the lid too for an extra seal.
5 Ways to Play and Learn with the Dishes
1. Sealed Sounds Dishes
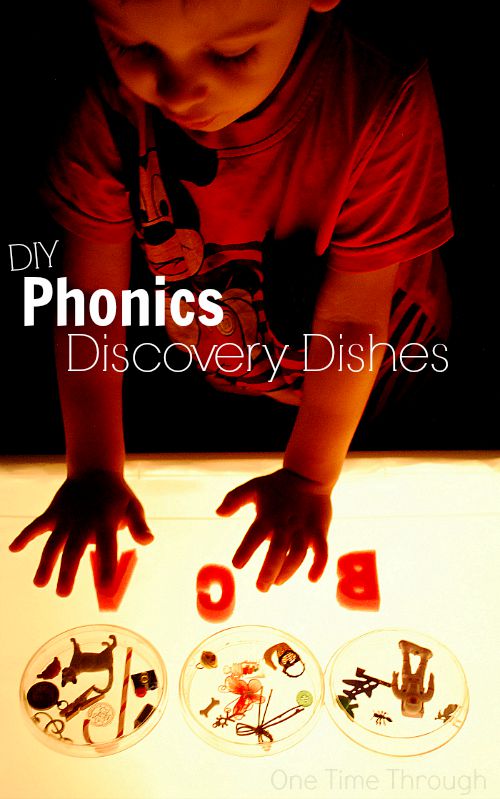
Seal the dishes and allow your child to freely investigate them. They look super cool on a light table where the outlines become really sharp!
Give your child all the dishes, or maybe just the dishes with the letters of their names to start.
Show your child the sponge/wooden letters and encourage them to match the dishes up with their respective letters.
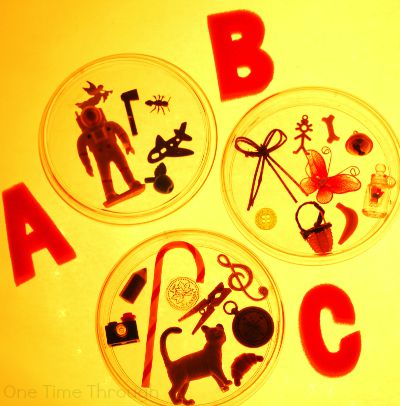
Try to find some objects that are opaque and/or transparent if you are using a light table. They look the coolest!
2. Water-Filled Discovery Dishes
Fill the dishes with water or coloured water for a neat sensory effect!
The objects look like shadows on the light table, but they are neato! “Cool” said Onetime.
Just be sure not to use too much food colouring so that the dish is not too dark to see the objects. You may need hot glue on the inside and outside to keep the water in.
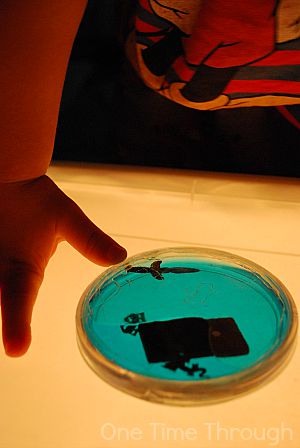
This was our D dish: dagger, drama domino, and dragon. We totally forgot to put in our dice and “diamond” before I glued!
3. Sort the Sound Objects Activity
An alternative to presenting the dishes as completed, is to present the objects to your child and have THEM create the dishes by SORTING the objects.
Ahead of time, gather your objects and sort them into their respective dishes with their letter. Tape the dishes shut temporarily.
When your child wants to play, choose 2 or 3 dishes at a time, place the objects in a pile on the light table, and encourage your child to sort the objects into their “letter homes.”
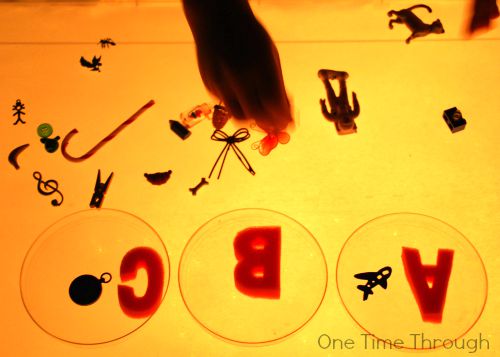
Onetime caught on quick to this activity after I modelled a few objects. This was also a great activity for building vocabulary. “What is THIS Mom?” “It’s a music Clef honey.”
4. Sealed Dish Spelling
Another alternative is to include the letters inside SEALED dishes and encourage your child to explore and spell words with the dishes.
You might want to encourage them to try their name first, then your name, and on to familiar words of people and things.
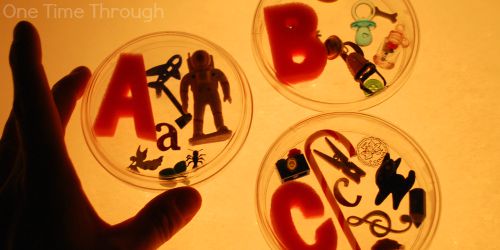
You can always include capital and small letters in the dishes.
5. Discovery Dish Search Game
Another option that we didn’t try, but could be fun, is to create sealed discovery dishes that include the letters and objects, with one object being obviously incorrect.
Example: Place a Cat toy inside the A dish.
The challenge would be to find the one object in each dish that does NOT start with the sound of the letter. Which one of these objects does NOT belong?
Other Phonics Activities
For other DIY PHONICS activities – be sure to check out our:
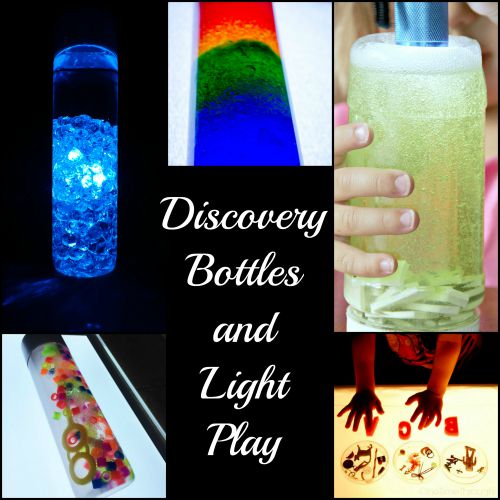
Discovery Bottles Blog Hop
Be sure to check out these other fun ways to use discovery bottles on a light table! Click on the links below, or the collage!
Rainbow Discovery Bottle | Preschool Inspirations
Rainbow Bubble Beads Discovery Bottle | Modern Preschool
Math Dominoes Discovery Bottle | Sugar Aunts
Color and Light Discovery Bottle | Left Brain Craft Brain
Find even more hands-on language activities for young children on our Pinterest board:
Follow One Time Through’s board Early Reading Activities on Pinterest.
Remember to follow me on Facebook and Twitter!

I LOVE this!! The phonics twist is brilliant!!! We definitely need to get some petri dishes :).
Awww…thanks for dropping by Katie! Had so much fun coming up with this idea! We’ll be using these for a LONG time! Looking forward to the fall discovery bottle hop too!