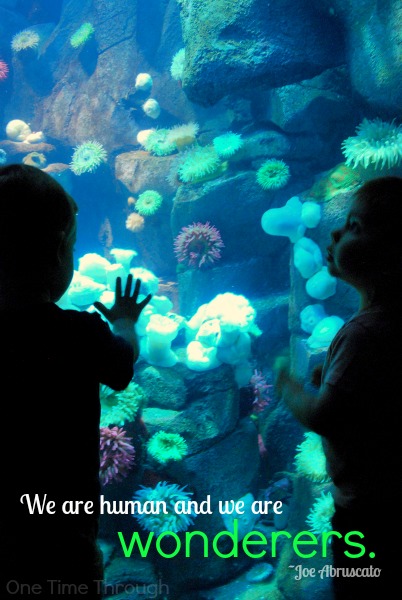
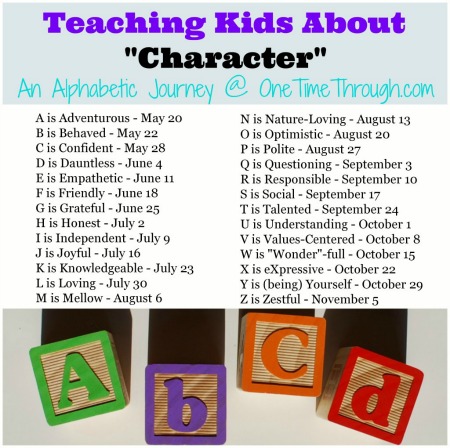
Welcome back to another week of Teaching Kids About Character: An Alphabetic Blogging Series. This week’s topic is W is for Wonder-Full!
How can we encourage our kids to be full of wonder – to be curious, to ask questions, to be motivated to find out how things work and why, and to appreciate the amazing complexity of our world? SCIENCE!
This post contains Amazon Affiliates Links. Please see our full Disclosure Policy here.
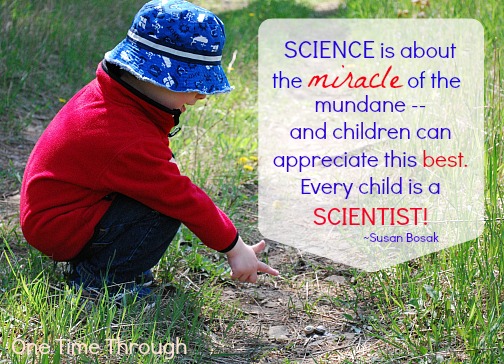
According to Susan Bosak, the author of my all-time favourite kids’ science activity book, Science Is…: A source book of fascinating facts, projects and activities, parents and elementary school teachers are two of the strongest influences on whether a child will become interested in science.
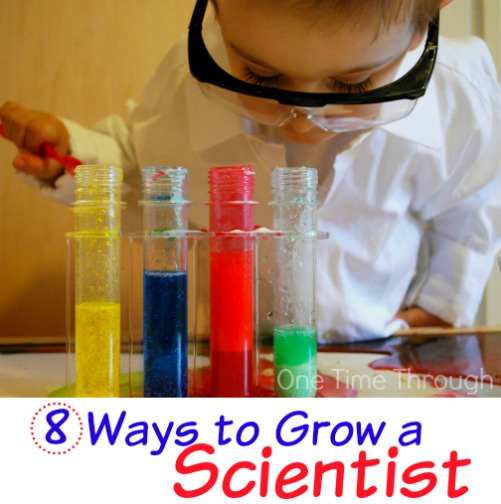
Here are 8 ways we can help our kids develop a LOVE of science from an early age!
1. Make Science a REGULAR Part of Your Activities at Home
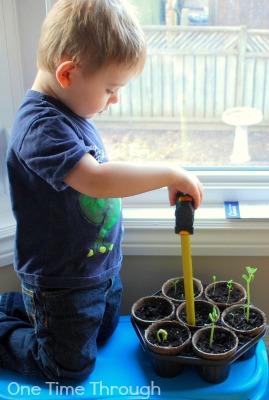
To find activities and ideas, pick up a book at the library (our favourites are the Magic School Bus series), or find some science-based blogs to follow.
One Time Through does science activities and they’re all listed on our Science Activities for Kids page.
Other great blogs with a science focus that are geared to young children are: Left Brain Craft Brain, Little Bins for Little Hands, Hands On As We Grow, and The Science Kiddo. Planet Smarty Pants does a lot of awesome science activities for school-aged kids.
You could also check out our Science Activities for Kids Pinterest board at: Follow One Time Through’s board Science Activities for Kids on Pinterest.
2. Make a Science KIT
Have fun putting a science kit together with your child!
Find a sturdy container (we use an empty Lego suitcase!) and add some or all of the following:
- a magnifying glass
- plastic forceps
- empty containers for holding specimens
- a prism
- wool or nylon fabric scraps (for building up static electricity on a piece of plastic)
- a plastic rod or ruler (again – static electricity)
- a measuring tape
- an eye dropper and a turkey baster (for transferring liquids)
- a measuring cup, beaker, test-tubes etc.
- a thermometer (non-breakable and non-mercury is best)
- a small mirror
- magnets
- a small flashlight
- regular tape, scissors, and a permanent marker for labeling
- goggles (always think SAFETY!) and a clipboard, paper and pen for taking notes
Once you have your kit ready, you can decorate it with your child and make a big deal when you get it out to “play” with. As many of the tools should only be used when you are supervising your child, make sure you keep it in a safe place when not in use.
To find a Free printable picture sort game to help your child learn the difference between Science Tools and Toys, visit Kindergarten…Kindergarten.
3. Allow Free PLAY with Scientific Tools and Materials
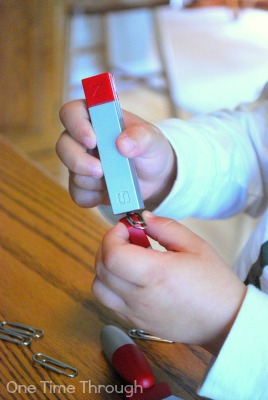
As a teacher, I have learned how important it is to allow kids to do this with any new tools or materials we are going to be using before expecting them to follow any type of activity with steps.
They’re just too curious and want to get their hands on things before being told what to do with them. This is something to encourage and it helps build excitement and curiosity – just be sure to supervise!
4. Follow a Learning CYCLE When Doing Activities
Susan Bosak’s “Science Is…” book that I mentioned at the top of this post, talks about using a cycle when doing scientific activities with kids to boost their learning.
She suggests starting off by just DOING an activity with kids, then taking time to DISCUSS it, then RE-DOING the experiment again once the kids have a better grasp of what’s going on.
I love this idea! Basically, you are hooking the kids’ interest right away by jumping in to something hands-on and exciting.
Then you are allowing the real learning to happen when you discuss what happened, why it happened, and how it happened. Then you’re giving the kids a second chance to really understand and re-experience the activity by doing it (or something very similar) again.
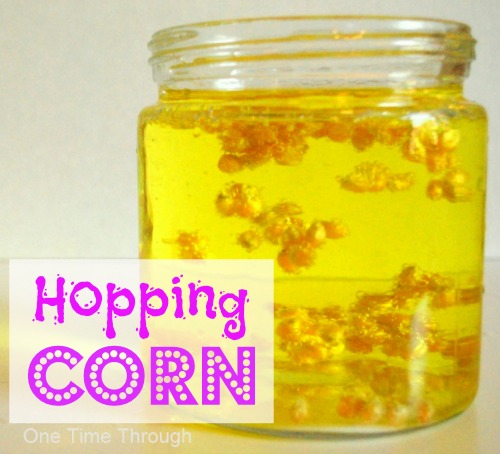
For example, if you decided to try our popular Hopping Corn activity, you could set up the materials and instruct your child on how to add all the ingredients.
Maybe later you could READ a book like The Magic School Bus At The Waterworks or What Is the World Made Of? All About Solids, Liquids, and Gases. B
oth of these are awesome books, perfect for teaching young learners about liquids, solids, and gases.
By talking, drawing, and reading about the activity, your child is deeply processing what they saw and did. Without engaging in these steps, much of the learning potential of an activity can be wasted!
Back to the Hopping Corn…once you’ve completed the discuss portion of the cycle, return and do the activity again! Maybe, have your child try to tell you what’s happening and why they think so this time.
You can also point out the gas bubbles lifting the corn and how the corn is floating in a liquid. Your child will be able to better understand what’s going on this time, as well as use some of the scientific words like gas, liquid, solid.
And, I’m sure they won’t mind repeating this activity – it’s mesmerizing!
5. Use the Scientific METHOD
Without getting into all the details of the scientific method (and you really don’t need to with young children) – the important thing to remember is that science is a process.
It’s not about getting to the end of the activity or experiment. It’s about asking questions, making guesses or hypotheses about what might happen with an activity, and then about observing and comparing what happens to what you thought might happen. That’s it in a nutshell!
What does this mean for kids? How can we use this method when we are doing activities?
- Try to find out what kids want to know about a topic. For example, while allowing free play with some materials, ask them what they want to know about them. eg. “What do you want to know about magnets?” This will allow them to form questions that you can pursue with a more structured activity or experiment.
- Before every activity/experiment, ask them what they think will happen. This is making a hypothesis. It keeps them actively engaged in the activity because all kids want to know if they’re going to be right or not! (and adults too!)
- During the experiment, help young kids notice different things with all 5 senses. For example, “Do you see the bubbles there?” “Can you hear anything?” “What does this feel like?” “Do you smell anything?” Be careful with the taste one – only if safe!
- Try not to answer all your child’s questions. Science is about observing and learning from doing (not hearing someone else talk!) Try answering your child’s questions with the phrase, “What do you think?” You may be surprised by some of their answers!
6. Encourage Scientific THINKING
Build your child’s scientific thinking skills by engaging them in activities where they are: sorting, observing, classifying (naming groups of things), and creating new things.
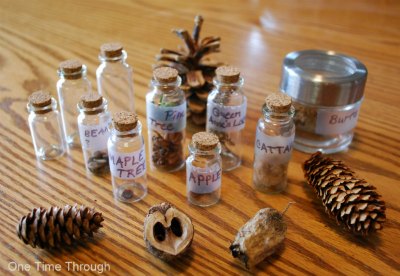
This can be as simple as encouraging your child to start a collection and helping them to sort the collection and name the categories. A fun and easy collection to try, that can be done at any time of year, is a Seed Collection.
Try giving your child some masking tape and a variety of toilet paper tubes and cardboard boxes and see what they create! Or give your child just one large box, some markers, and you and a pair of scissors and let them tell you what they want to make!
7. Get Into ROLE
If your child is interested in PRETEND PLAY, then really do up the whole “We’re going to be SCIENTISTS today!” thing.
Find yourself an old lab coat at the local second hand store, and make your child one out of an old white men’s dress shirt (no sew) and (sew version).
Get some safety goggles to wear and get a special clipboard to use when recording observations (My grade 4 and 5 students always LOVE this!) Basically, appeal to the right side of your child’s brain!
8. Be An Explorer WITH Your Child
Above all, remember that getting your child to love science means they have to experience it in a hands-on way as a process. They have to BE the scientist.
That means that you can enjoy the ride along with them without having to be an expert. You can find activities that your child might like, and prepare materials, but when it comes to doing the activity, guide, but give your child as much free reign as possible.
Allow your child to get sidetracked. Allow experimenting (as long as it’s safe!) and approach “failed” experiments as an opportunity to learn more together!
Sit back and have fun learning and exploring WITH them!
That’s it for today’s W is for Wonder-“Full”: Helping Your Child Learn to Love Science. I hope these tips have inspired you to get a little more scientific around your house – and to maximize your child’s learning when you do!
To keep following our alphabetic journey make sure to visit our Character Series page.
To raising kids full of WONDERMENT!



Great post! Love the pics too. Pinning and sharing!
These are really good tips! Science is my weak area, and I need a little help in coming up with ways to incorporate science into our everyday routines! Great post!
Glad you found this helpful Ashlee. The great thing about Science with kids is it doesn’t have to be your thing. Thanks so much for dropping by! Best, Sue
Great tips! I think children are naturally curious and this should be encouraged
Thanks Elizabeth – that’s so true. We just have to build on what’s already there! Thanks for dropping by! Best, Sue