Today, I’ll show you how to make a few different kinds of clothes peg planes for pretend play that are easy to make and guaranteed fun for your budding aviator!
To celebrate my son’s obsession, we decided to do an Awesome Airplane Roundup this week with 20+ links to airplane activities and crafts.
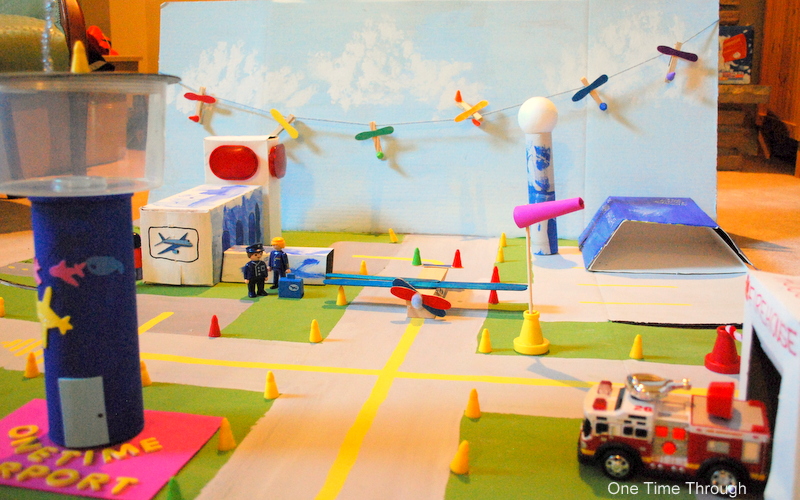
We also decided to make a homemade Cardboard Airport to play with at home (and to learn a little bit about what our upcoming flight will be like.)
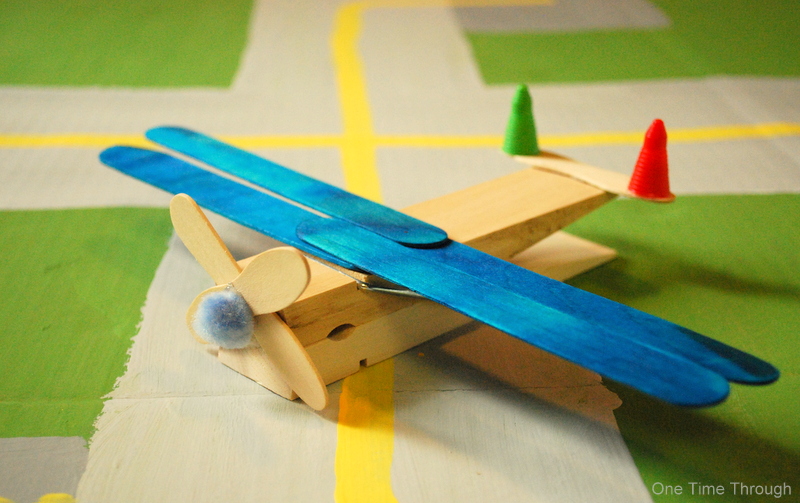
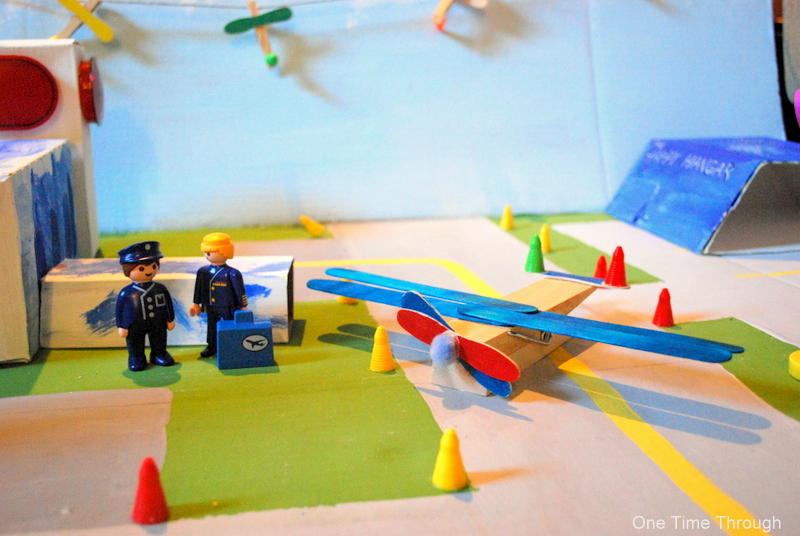
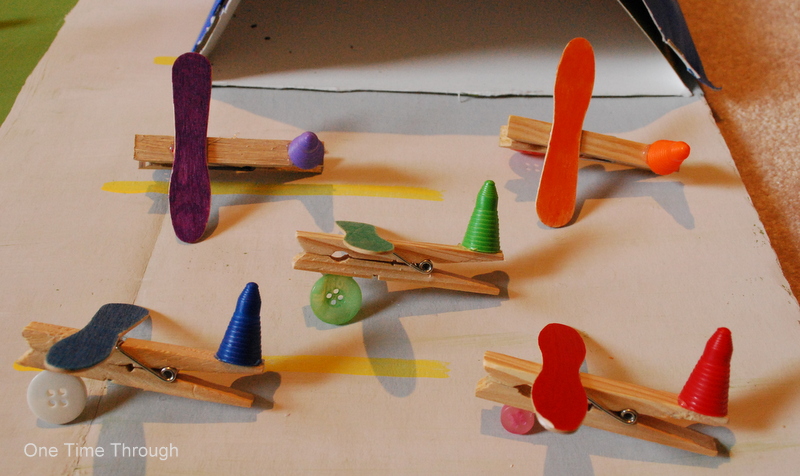
So, we started with the idea of using a clothes peg for the fuselage from Momdot and made our own version of 2 different airplanes – a large 6″ one and a mini-plane.
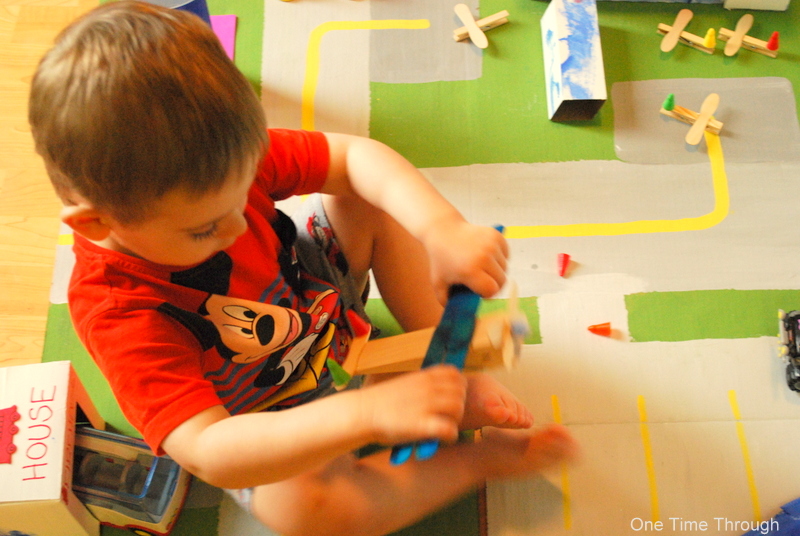
Onetime absolutely loves his large clothes peg plane and hasn’t let go of it since we made it! He even insisted on bringing it for a family hike this afternoon – flying it through the air as we walked!
To Make Clothes Peg Planes You Will Need:
For the Large 6″ Plane
- 4 coloured tongue depressors
- one LARGE clothes peg
- 3 ice cream treat sticks for a propeller and tail
- markers to colour or paint
- conical game pieces for plane lights
- hot glue gun
- small pom pom for plane nose
- Optional: large button for front wheel (not seen in picture)
 Instructions:
- Colour all wing and tail pieces.
- Using the hot glue, glue on the 4 tongue depressors overlapping them to add strength.
- Glue on the treat sticks to make a propeller. Try not to block the “mouth” of the clothes peg if your child wants to make his/her plane “talk.”
- Glue on the tail treat stick.
- Glue on conical game pieces for lights on tail.
 For the Mini-Plane You Will Need:
- 1 regular clothes peg
- 1 ice cream treat stick for wings
- markers or paint for decoration (we used acrylic pen markers)
- conical game pieces for plane tail
- hot glue gun
- Optional: button for front wheel
 Instructions:
- Colour all wing and tail pieces.
- Using the hot glue, glue on a treat stick to make the wings.
- Glue on a button onto the bottom of the plane for a front wheel.
- Glue on a conical game piece for a tail.
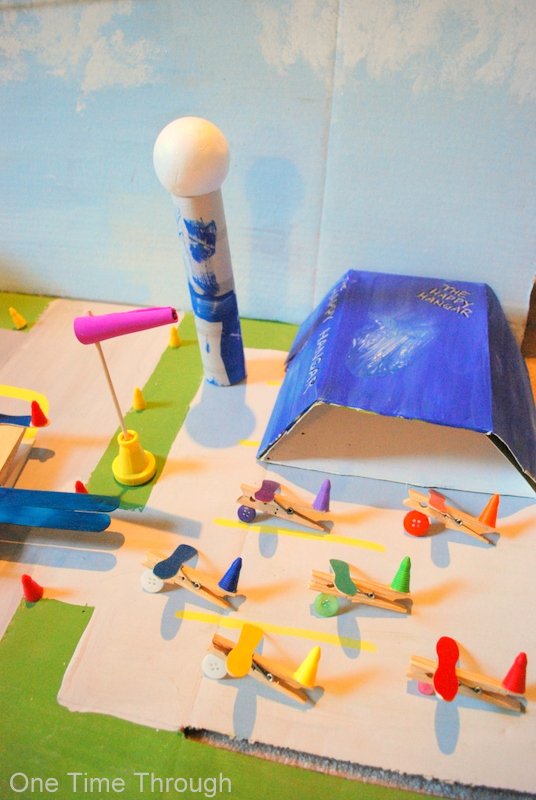
But, they could also be used as cute paper-holders, or fridge magnets to hold a photo if you added an adhesive magnet on the bottom instead of a button.
I hope you’ve been inspired to great heights by our clothes peg plane fun!
To find even more fun and educational activities as well as positive parenting tips, follow us on Facebook, and Twitter.
Happy Flying!
If you enjoyed this post, then definitely check out our super-awesome Airplane Roundup and our Cardboard Airport. Also, be sure to follow our Awesome Airplane Pinterest board at:
Follow One Time Through’s board Awesome Airplanes on Pinterest

These are too cute! Definitely pinning!
Thanks for dropping by There’s Just One Mommy!