Ever since Onetime was a baby, he has been interested in all things airplane related! We had an Airplane First Birthday party for him and have spent many fun afternoons at the local airport watching small planes take off and land. But, nothing has got him as excited as the knowledge of his upcoming first flight a few weeks from now.
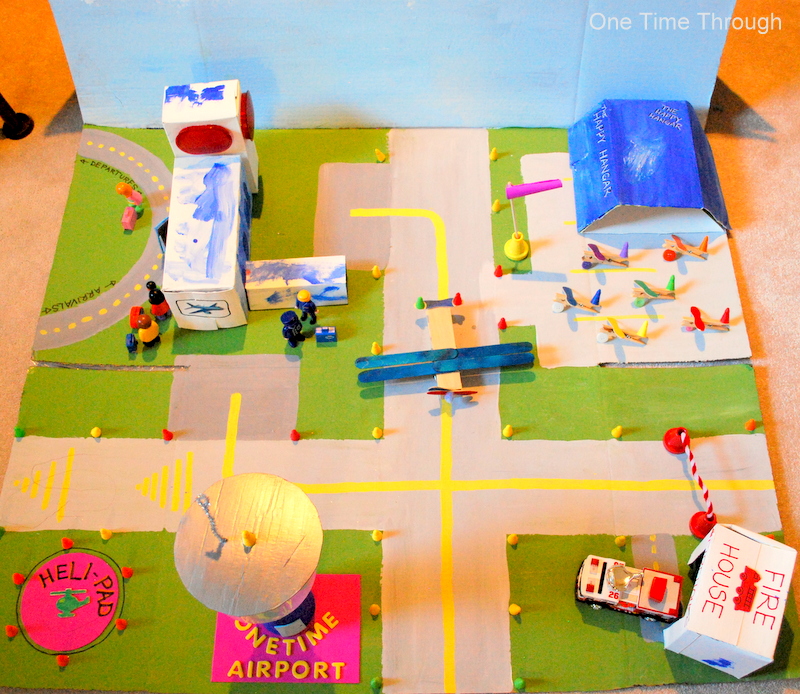
I love building things out of cardboard boxes with my son! This was such a creative experience and although it took a few hours to make, that was a big part of the fun! It should also be said that Onetime has enjoyed playing with the completed airport for much longer than it took to build it.
 What You Will Need to Make the Airport:
- 1 large moving box
- a variety of cardboard boxes and containers of different shapes and sizes (think toothpaste, pop cases, foodstuff boxes, paper towel roll, and a pringles can!)
- a trapezoidal box for a hangar, or a piece of cardboard to fold into one
- an empty multi-DVD container or an empty margarine container
- a variety of coloured game-pieces/miniature cones
- acrylic paints (white, black, blue, green, yellow)
- 2″ foam ball for radar tower
- markers for labelling
- Optional: airplane stickers, pipe-cleaners, play cars and airplanes, airplane stickers, wooden letters, string to hold clothespeg airplanes, fun foam for windsock, wooden stick for windsock, pushpin for rotating terminal walkway
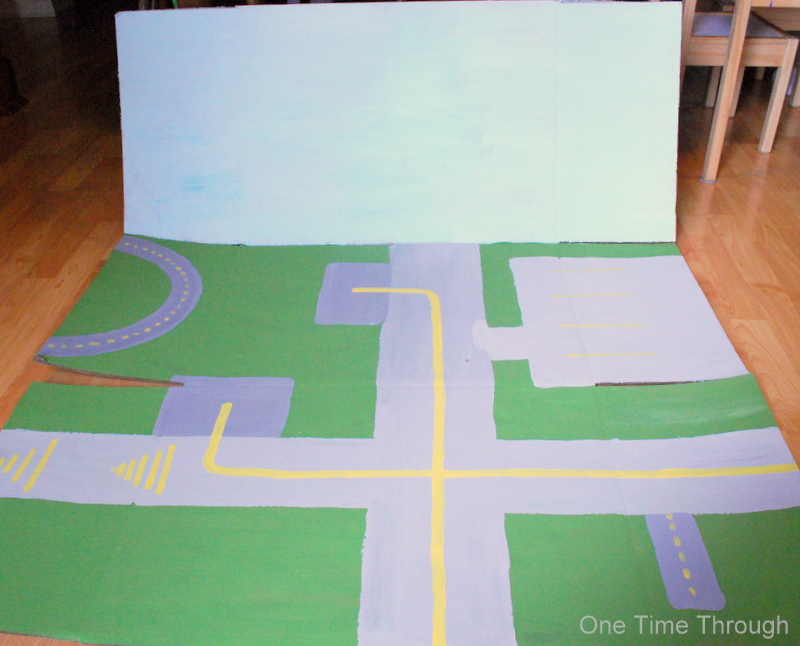
First you will need to flatten out the moving box. You should have 4 sections. Fold two of the sections into a “mountain” so that the “sky” will stay propped up. Use the acrylic paints to paint the sky and grass/runways. To make the clouds that you see later, we dabbed a sea sponge in white paint and blotted it on in cloud shapes.
Next, we went on a hunt around the house for boxes that could represent the different buildings at an airport. We have been obsessively reading Richard Scarry’s A Day at the Airport (Pictureback(R)) so we used that as a reference.
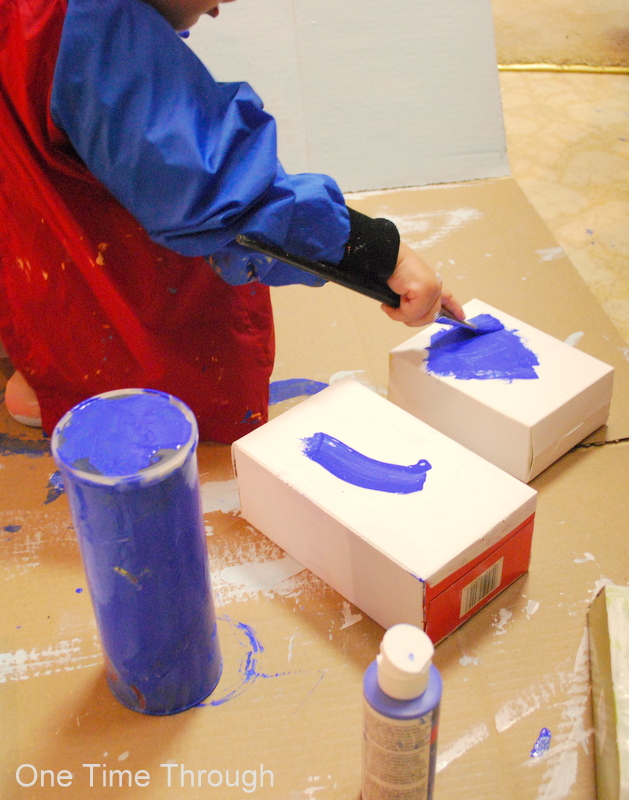
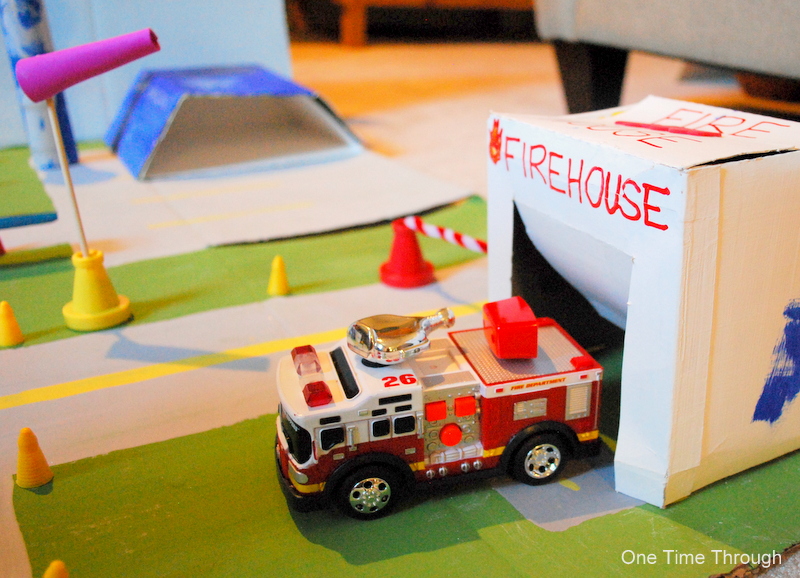
We found a pop case for the terminal, a pringles can for the control tower, an empty cracker box for an airport fire station (also an obsession for my son), and a paper towel roll for a radar tower.
I painted them all white to start to cover up the labels, but you wouldn’t need to be as picky as me. Onetime then had fun choosing his colours and adding his touches to all the buildings.
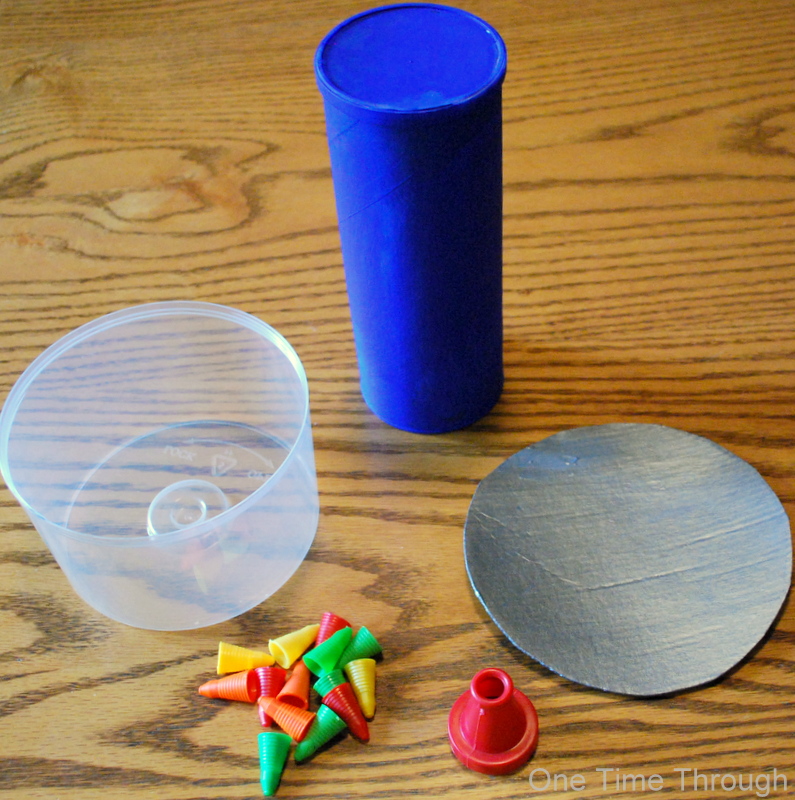
Onetime enjoyed putting airplane/helicopter stickers all over the place. I think they look cute! We also added the airport’s name and a helipad for helicopters to land.
Although I had ideas of my own, I really followed Onetime’s lead on where things were going to go because I really wanted this experience to build his creativity.
By putting out all the odds and ends that I had gathered up for decorations, Onetime was able to choose where things went and how they were decorated. He definitely surprised me by starting to use the game pieces not only as lights, but also as little people to ride on his planes!
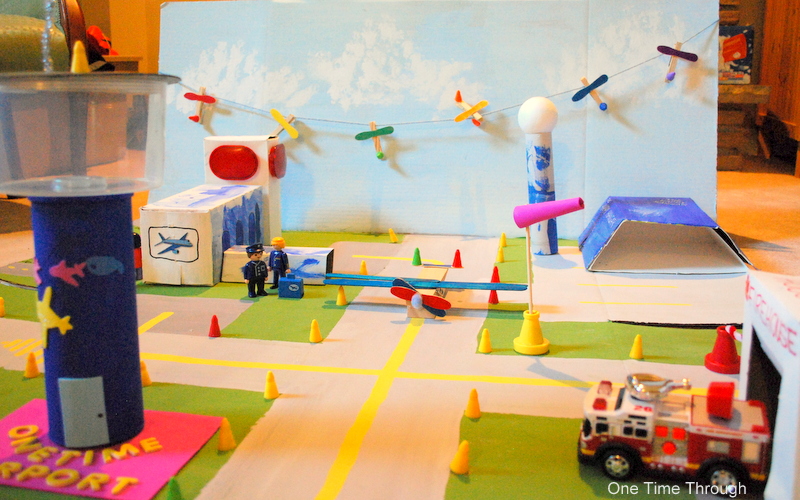
I also labelled many of the buildings as we created – just for extra language learning!
Onetime wanted a windsock, so I folded a piece of fun foam into a conical shape and glued it to a wooden stick. We used playdough to hold the stick inside the cone.
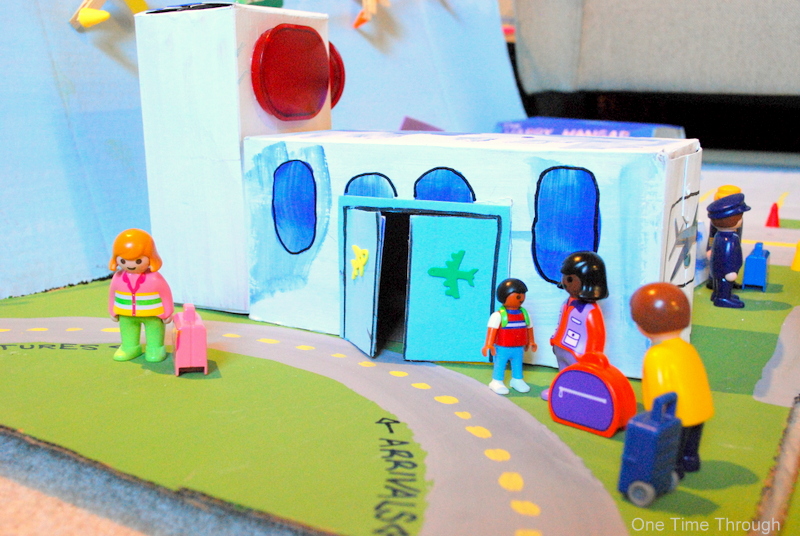
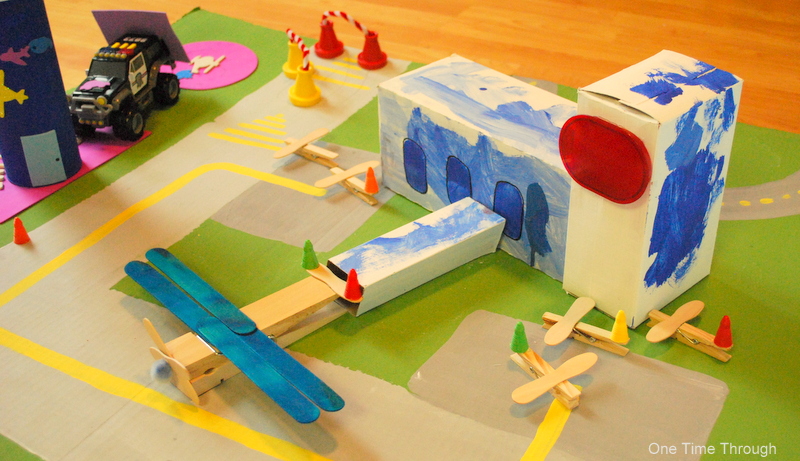
You can see in the picture that Onetime lined the walkway up with his plane for loading! Although I don’t think that people would really appreciate going into the rear end of a plane, I didn’t tell him that!
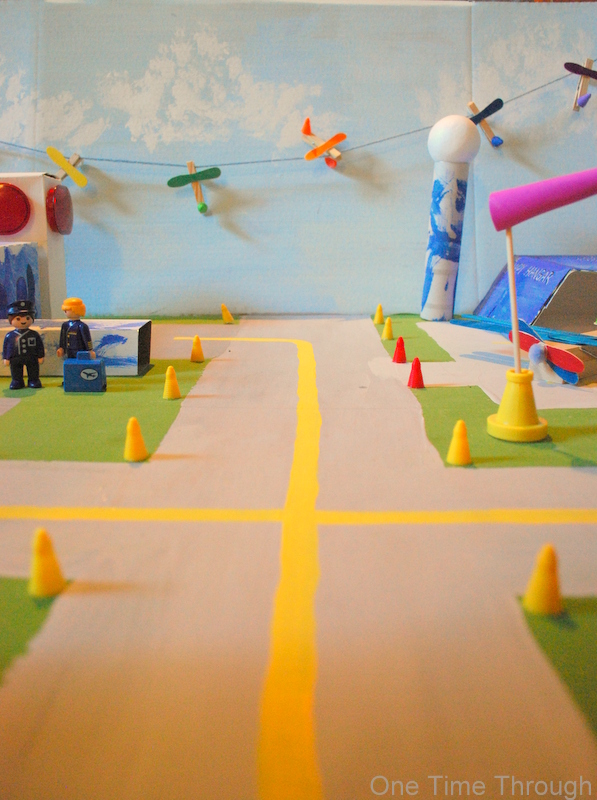
If you want to add a string to attach Clothes Peg Airplanes so they look like they’re flying through the sky, just tape a long blue piece of yarn to both sides of the “sky.” Onetime really enjoyed clipping these little Mini-Planes onto the string while working his fine-motor skills!
To find even more fun and educational activities as well as positive parenting tips, follow us on Facebook and Twitter.
Happy Flying!
If you enjoyed this post, then definitely check out our super-AWESOME Airplane Roundup and our Clothes Peg Airplane Craft. Also, be sure to follow our Awesome Airplane Pinterest board at:
Follow One Time Through’s board Awesome Airplanes on Pinterest.

Wow – I love all the details and all the repurposing! This looks like a ton of fun to make AND play with!