Are you looking for a great project to brighten up your early spring garden? If your backyard is still mostly brown (like mine), you will love the bright colours of this washer wind chimes craft for spring! Easy enough for kids to make and beautiful enough to inspire adults!

Amazon Affiliate links are included in this post. See my disclosure for more details.
Wind Chime Materials:
- A variety of washers
- Acrylic paint in whatever colours your child likes (we used hot pink, orange, yellow and red)
- A paintbrush
- Craft Wire

- A pompom and clothes peg for each colour of paint
- Clear Acrylic Sealer or Mod Podge for waterproofing
- A wooden dowel, branch, or metal ring to hang the wind chimes
Make the Washer Wind Chimes:
Step #1: Choose Your Colours
Have your child choose the colours they want to use, and paint a base coat on all the washers. We chose to stick with 4 main colours: red, orange, pink and yellow, the warm colours of the colour wheel, so it would feel Springlike!
Be sure to paint the side with the washer code numbers on to cover them up.
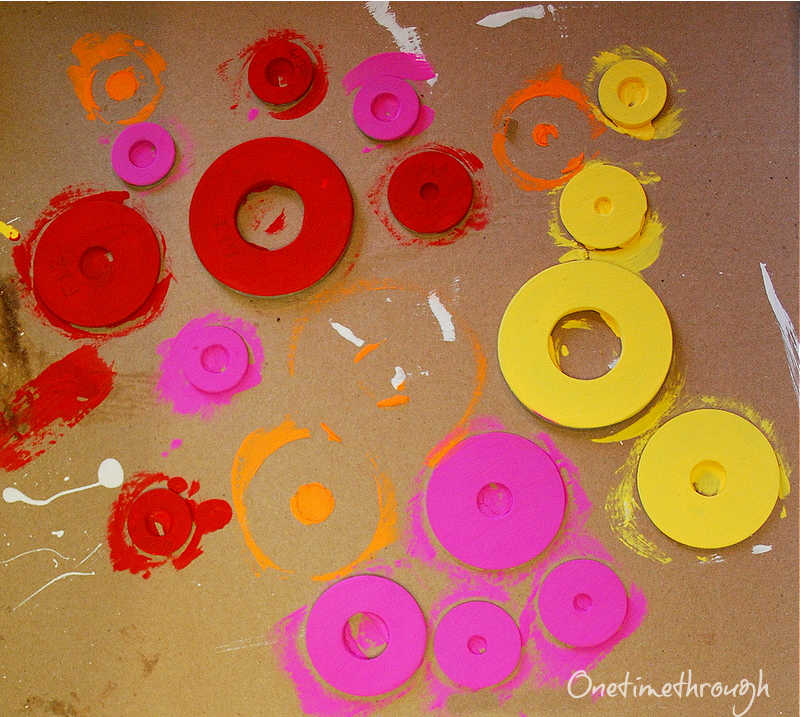
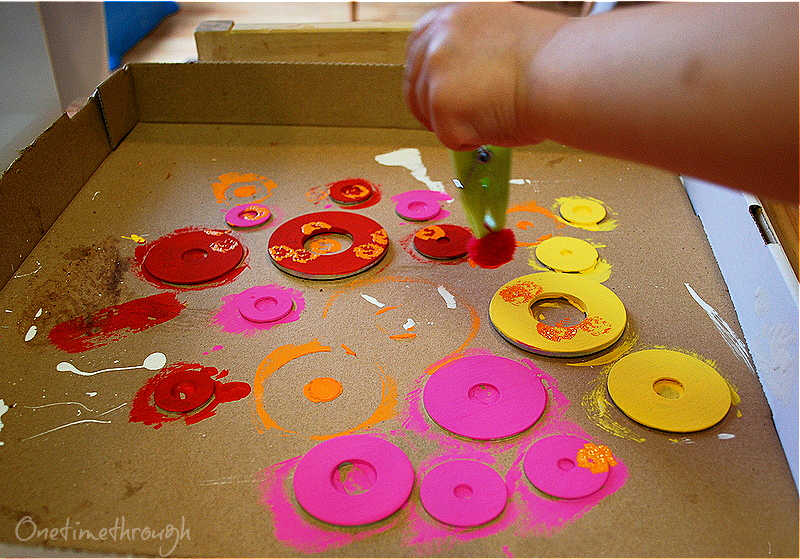
Step #2: Dab!
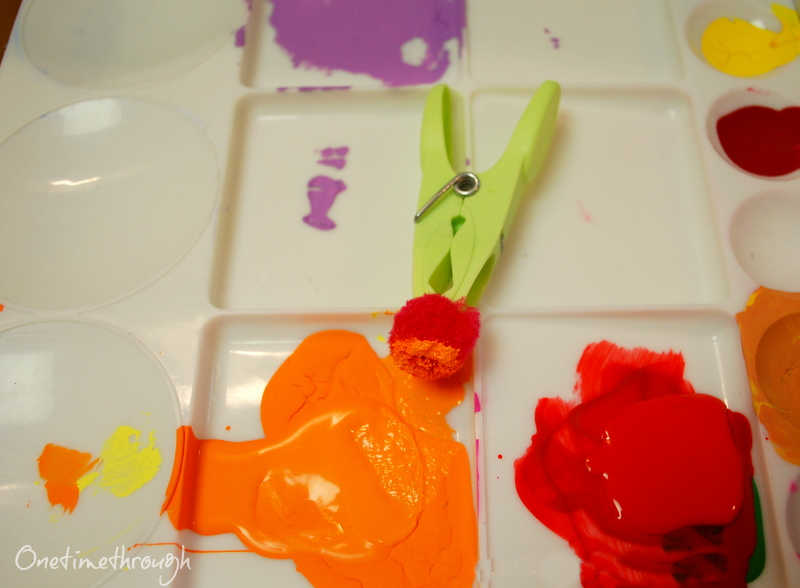
For each colour of paint, create a pompom paint dabber by pinching a pompom with a clothes peg. Show your child how to dab and let them paint! paint! paint!
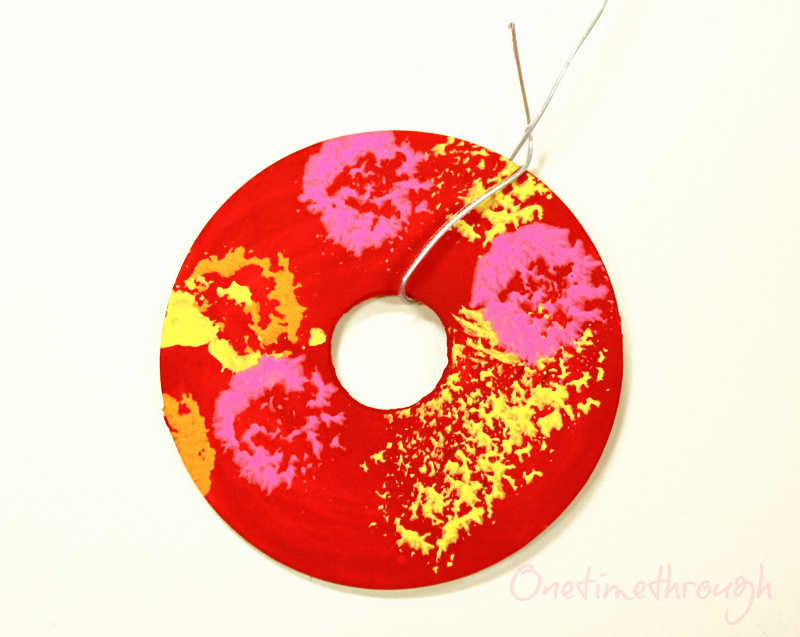
Step #3: Spray with Protectant
Here are our finished washers! Aren’t they pretty? I almost feel like these glued onto a piece of paper could be art enough!
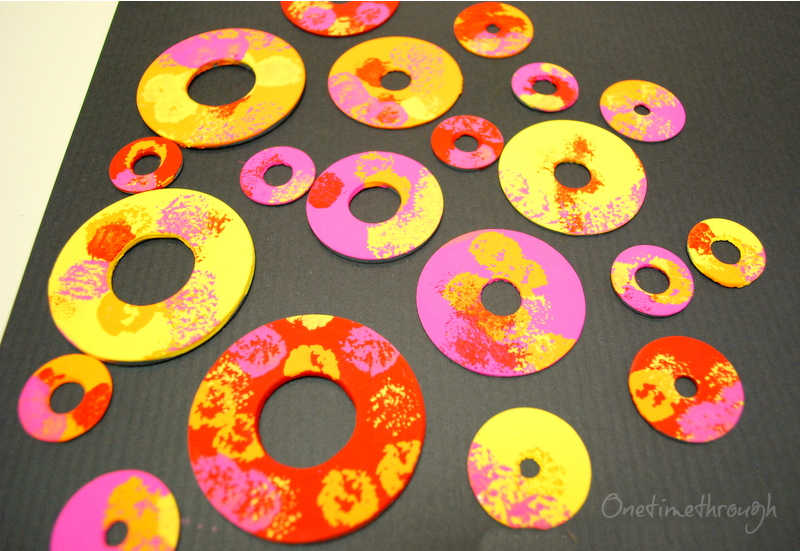
We only painted one side of the washers so that the silver side would shine in the sunlight, but you could do both sides. After the paint was dry, I sprayed the washers with a matte finish waterproofing spray from the local craft store.
Step #4: Attach the Washers to Wire
Arrange the washers in an attractive arrangement on a flat surface below your chosen dowel or stick. Start cutting lengths of wire that will attach each washer at that spot.
This step took only about 15 minutes…
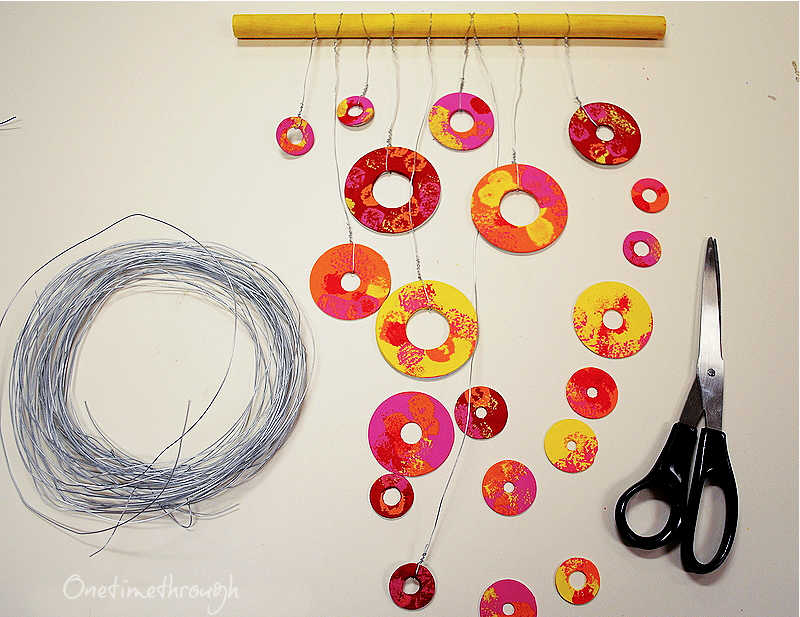
To tie each washer on, just feed the wire through the centre of the washer and then twist. Do the same at the dowel end.
Step #5: Hang the Chimes
Find the perfect spot in your garden for these sweet tinkling wind chimes!
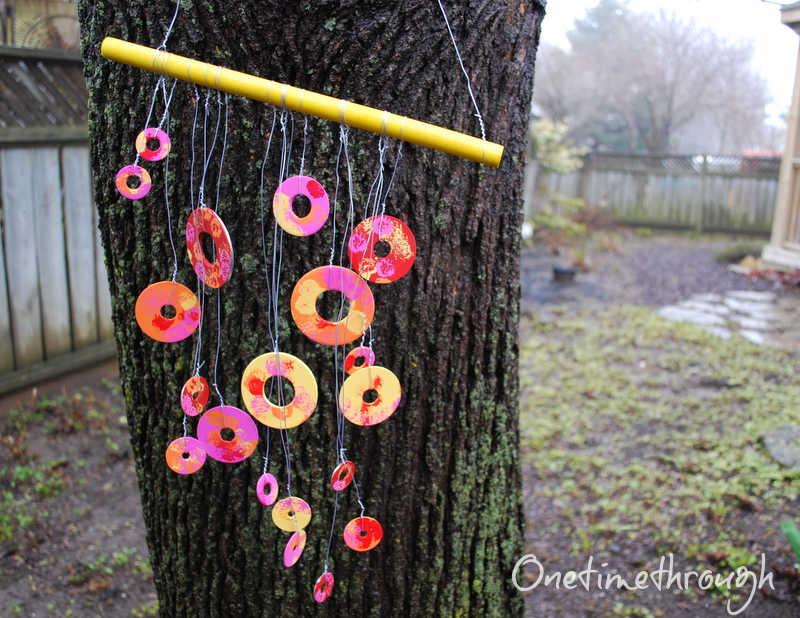
To be honest, I wasn’t sure how these were going to sound when I came up with the idea – but they have a beautiful tone! Yay! Bonus.
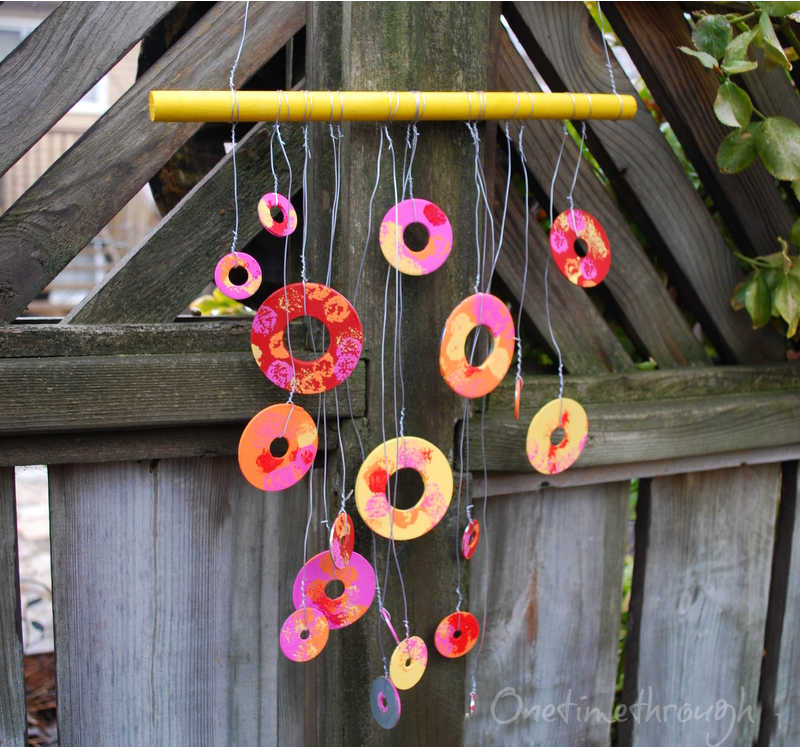
Today’s post was definitely more craft than art, but Onetime was really proud of the painting job he did and I think he will admire and enjoy these in our backyard, as will I, for the rest of the season!
Happy chiming!

To find even more fun and educational activities as well as positive parenting tips, follow me on Facebook, and Pinterest.
This looks like so much fun to paint!! And I love the colors you chose! They are definitely bright and put you in the spring spirit!
Thanks Ninjastitches! I think we’ll try experimenting more with the pompoms for painting – they ARE fun! Thanks for dropping by!
Great Idea Sue! Love this one! Keep ’em coming!
Christine 🙂
Thanks Christine! They sound really pretty too! Thanks for following!