Craving a side of STEAM with your eggs this week? Try these 6 simple egg experiments that are super-fun for kids while teaching them to hone their ability to observe – a critical scientific skill!
This post includes Amazon Affiliate links. Please see Disclosure for more details.
For All 6 Egg Experiments You Will Need:
- A dozen eggs
- A permanent marker to decorate Humpty
- White vinegar
- A clear, see-through container
- Approximately 1 cup table salt
- Talcum powder (optional)
- Magnifying glass
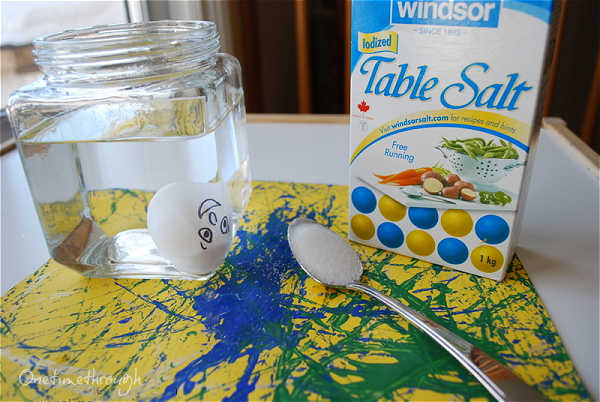
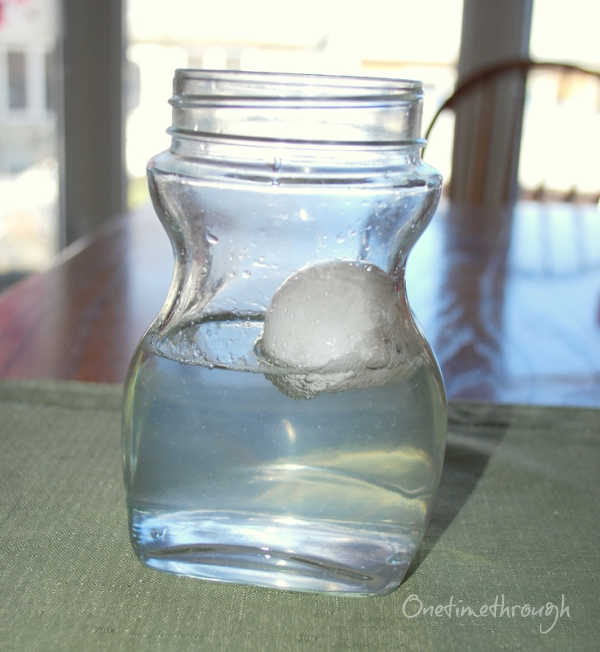
Egg-speriment #1: Swim, Humpty, Swim!
This experiment reinforces the concepts of sinking and floating, while letting your child practise his/her counting and observation skills.
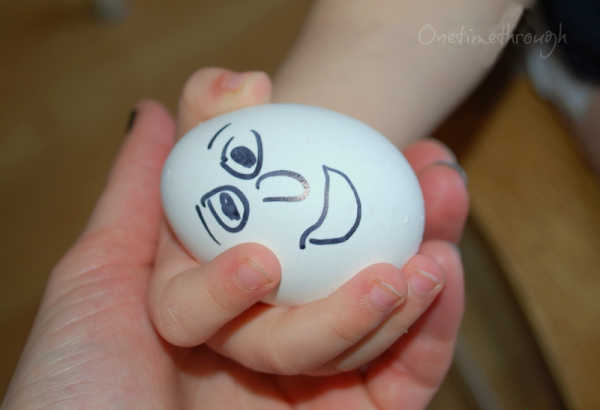
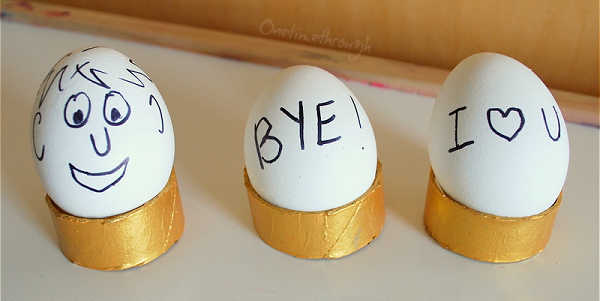
First, make Humpty Dumpty with an egg and permanent marker. Have your kiddo add some hair or ears, or hands!
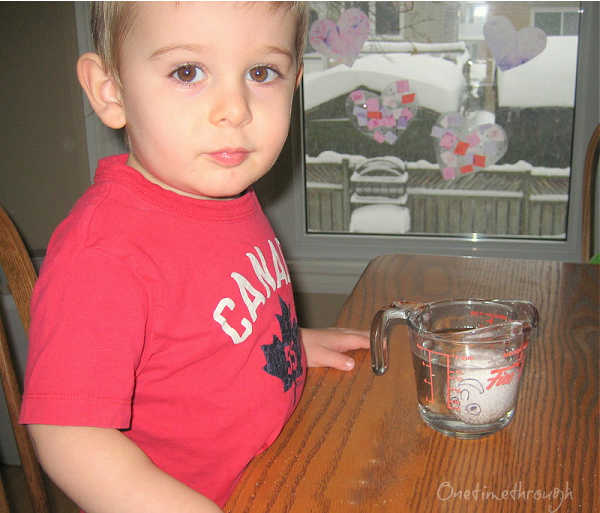
Fill a clear jar with water and place Humpty in (he should go right to the bottom.) Talk about how he sinks.
Ask your child what they think will happen if you add some salt to Humpty’s water. If you want, you can tell them that something special is going to happen after enough salt is added.
Have your child add one spoonful of salt at a time to the water and stir each time to dissolve the salt. You can practise counting as the salt is added.
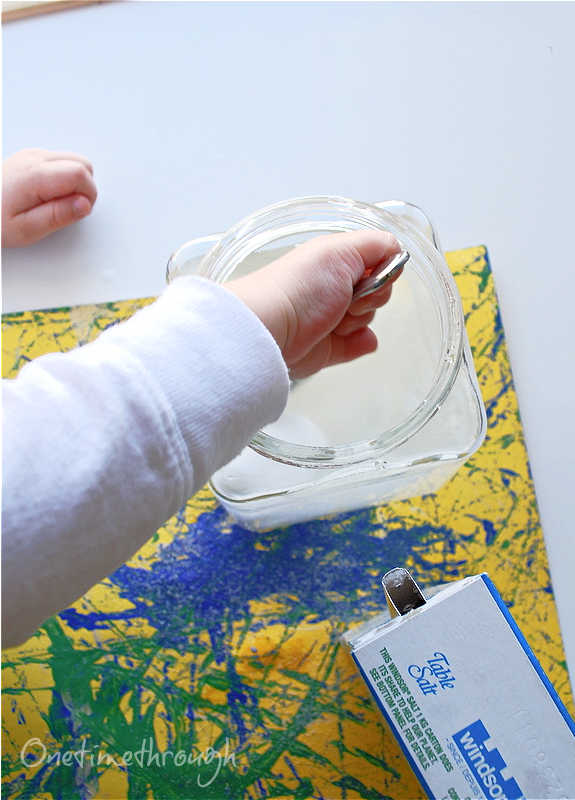
Remind your child to observe like a scientist to watch and see what happens to Humpty.
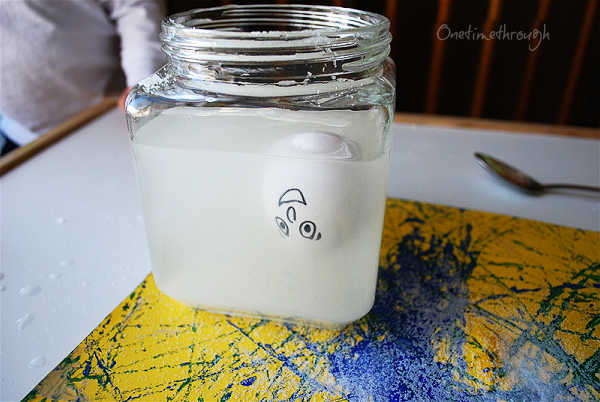
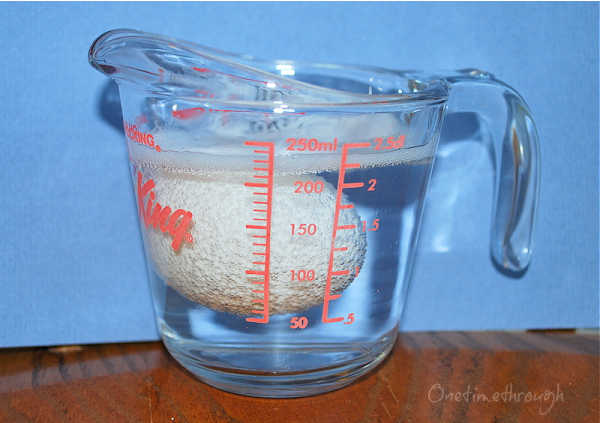
SCIENCE NOTE: Eventually, the salt makes the water more dense than the contents of the egg, and Humpty floats to the top of the jar!
Egg-speriment #2: How Strong is Humpty’s Shell?
Did you know you can squeeze Humpty super hard without breaking him as long as you use your entire hand wrapped around him so the pressure is exerted equally? Cool!
And note: Humpty will break if you squeeze super hard – but he can take a real good squeeze! It would be extremely difficult for a young child to do it!
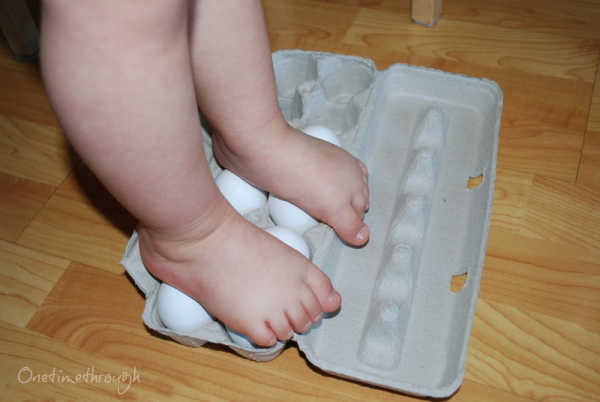
Egg-speriment #3: Walking on Humpty’s Friends
Did you also know that kids can walk on top of a bunch of eggs and that they won’t break? We tried it successfully and Onetime thought it was the funniest thing ever!
SCIENCE NOTE: The dome shape of the eggshell is extremely resistant to compression forces. This is why this shape is used often for bridges and domed buildings.
Just remember to have your child step onto all the eggs at the same time (or lift them onto the eggs).
Egg-speriment #4: Classic Egg-Strength Experiment
You are supposed to be able to place a number of heavy books on top of 4 half-egg shells arranged in a square without them breaking. We tried this using the fatter bottom of the egg, and they took the weight of one large book, but the second heavy book crunched 2 of the shells.
Probably, the jagged edge of the shells created some stresses – maybe you could reinforce the edges with tape and then try (we ran out of eggs!)

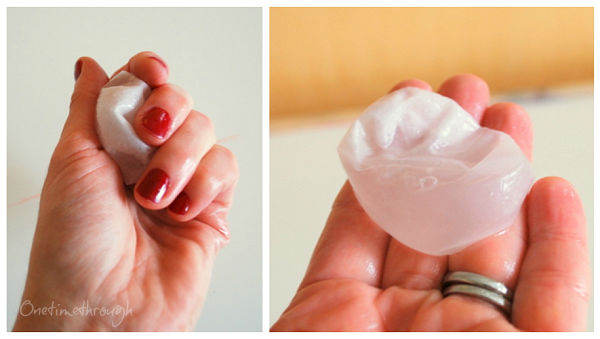
Egg-speriment #5: It’s Time to Get Humpty Naked!
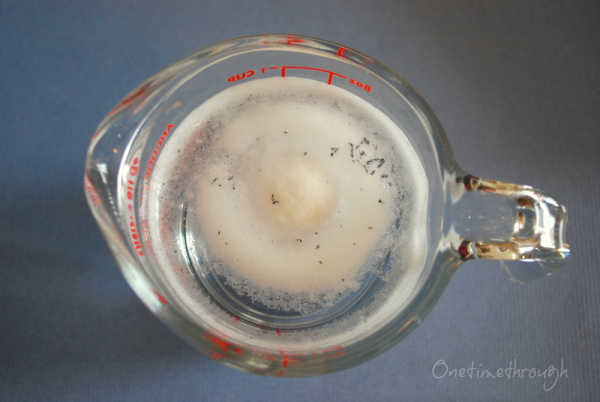
Place Humpty gently into some vinegar in a see-through container and leave him for a few days (maybe 3). Have your little one be a “scientist” and do some regular observations.
You should notice bubbles forming around the egg within an hour. Ask your kiddo what they think the bubbles are! This is a great opportunity to introduce the concept of solids, liquids and gases.
SCIENCE NOTE: The bubbles are created by air escaping from the inside of the egg as the shell starts to break down. Chicken eggshells are mostly Calcium and the acid of the vinegar eats almost the entire shell away after just a few days.
After one day, you will likely notice foam around the egg and the marker will lift off too.
After 3 days, the egg will be spongy to touch. You can gently wash it under a tap and handle it and squish it gently. The membrane of the egg is holding the contents together now. Also, the egg should be bigger because it has absorbed vinegar through the membrane.
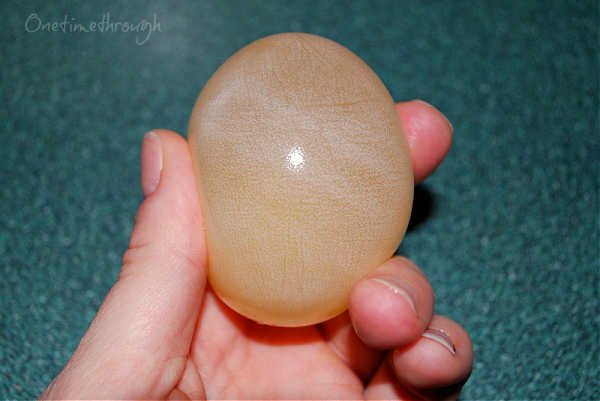
You should also be able to see through the egg – and notice how the yolk moves inside the egg to always stay up! Hold it up to a light to see the yolk easily.
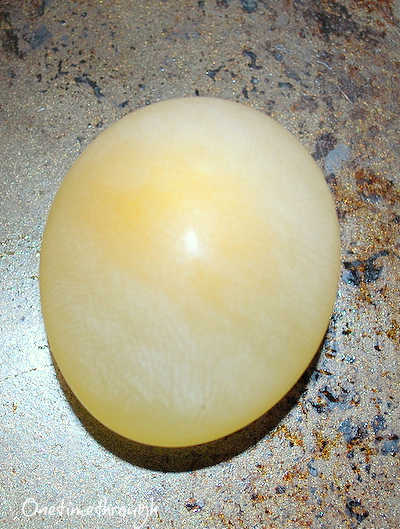
If you’re lucky – you may be able to gently bounce the egg! The key word here being gently. (Any Princess Bride fans out there? I just had a PB moment!)
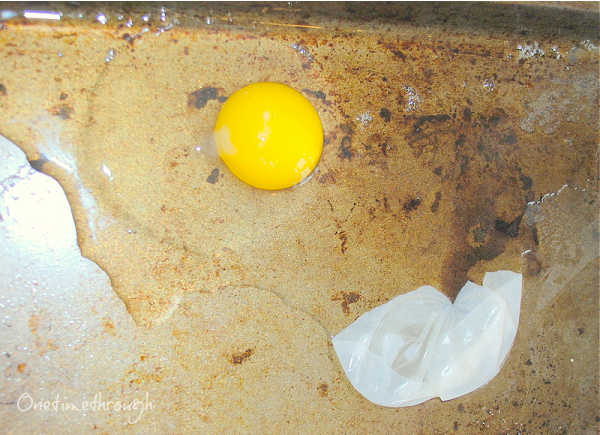
I would strongly recommend a tray under your bouncing experiments though – as ours broke! (Onetime was a little overexcited and kind of whipped it!)
Egg-speriment #6: Squishy Humpty
Note: You will need a second “imposter” Humpty for this experiment!
The big question for this experiment is “What happens to an egg if you remove the insides and then dissolve the shell?”
This is a great activity to try after you have done the previous experiment to remove Humpty Dumpty’s shell with vinegar.
This time, blow out the insides of your egg and then sit your empty shell in a container of vinegar for 5 to 6 days. If you’re not sure how to blow out an egg, see this link for instructions.
Have your little one predict what might happen to the egg. Remind them that the vinegar dissolves the eggshell.
SCIENCE NOTE: What actually happens is the shell is dissolved by the vinegar, but the membrane of the egg is left over. This membrane will still have vinegar inside it – so it’s like a squishy toy. If you lightly dust it with talcum powder after the shell has completely dissolved – you can squish it around for a little while.
That’s it – 6 fun and super easy egg experiments to try with your little one! Hope you have as much fun as we did!
Extending the Learning
If you’re looking to extend the fun of these activities, be sure to read about how we used Humpty Dumpty to work on our rhyming skills by making up our own book starring Humpty!

I’d love to hear if you try any of these out and how they went for you!
To find even more fun and educational activities as well as positive parenting tips, follow me on Facebook and Twitter.
Cheers,

To find more great Science ideas for young children, be sure to follow me on Pinterest at:
Follow One Time Through’s board Science Activities for Kids on Pinterest.
Definitely trying these experiments with my little boy. Thanks for sharing!
That’s great Ritchil! Hope you both have fun being scientists!