When my family moved into a new house a couple of years ago, we instantly fell in love with the fireplace, the neighbourhood with it’s beautiful red maple trees, and the lush garden in the backyard thanks to the green thumb of the past residents.
What we didn’t like was the view out the back window…rear views of our neighbours’ old garden sheds and neighbours who seemed way too close for comfort (as attested to by our first greeting from one through the window while we were sitting at our kitchen table!)
And while the neighbours turned out to be perfectly friendly and lovely people, the view needed a bit of an adjustment.
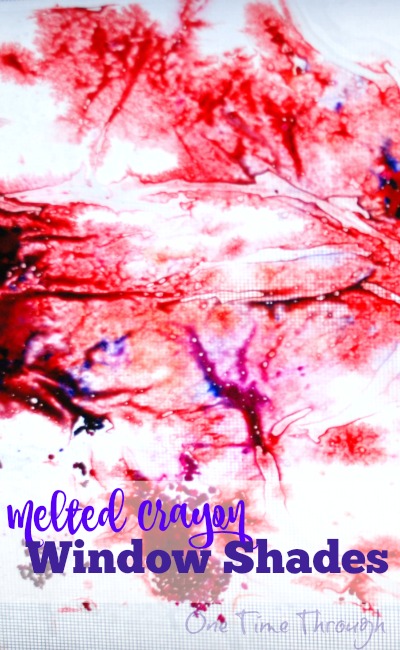
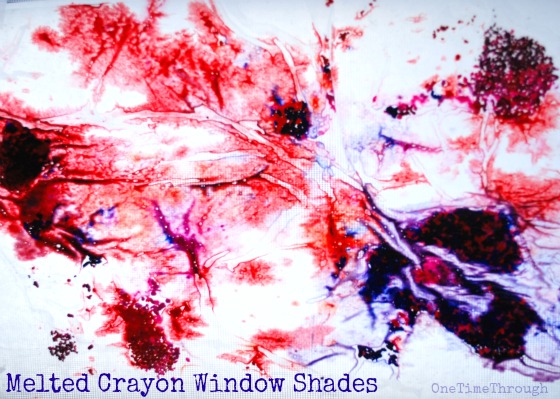
That was when we decided to create some colourful art for a homemade window shade to brighten up the view (and obscure it a bit!). Read on to find out how Onetime made this lovely abstract melted crayon window shade using only a few simple materials.
Why a Melted Crayon Window Shade?
While we did eventually buy some wonderful shades for our windows from the store, I did LOVE this beautiful art shade that Onetime created.
The materials are cheap and easy to find, and the art itself was open-ended and creative.
The best part about these window shades is that they still let the light in! And did I mention that you can tailor the colour scheme to the season, or to your home decor?
Materials for Window Shade Art
Crayons of different colours
An old cheese grater
Wax paper sheets
Iron
Dish towels or an old sheet
Preparation
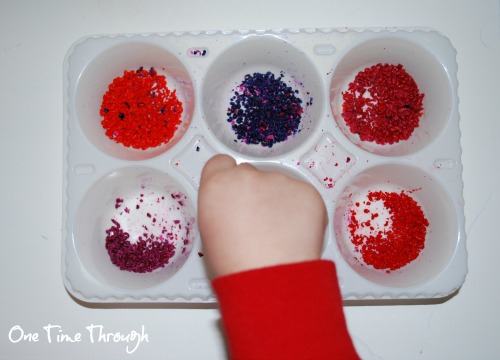
- Choose your crayon colours and remove all the paper covers from the crayons. We used reds and purples.
- Using the finest grater you have, grate up a few crayons onto a plate. You won’t need many. We had lots left over.

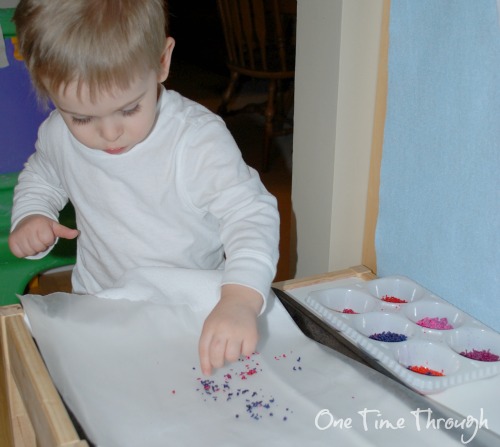
4. Lay out your wax paper sheet on a cookie tray or large sheet of cardboard. Have your child create with pinches of crayon shavings!

6. Place the other wax paper sheet on top of the first, and cover again with a dishcloth or old sheet. Iron the wax sheets on low for 30 seconds. Check to see if the crayon shavings are melting. Increase the heat if necessary until the shavings melt.

To find some other crayon process art projects today, please visit these awesome sites!
Scratch Art Paper for Kids from Powerful Mothering
Melted Crayon Art from Mum in the Mad House
Crayon Melting Art from Kidz Activities
Crayon Smash Artwork from Peakle Pie
Crayon Shaving Sun Catchers from Rainy Day Mum
7 Lessons I Learned from Coloring on Walls from Preschool Powol Packets
Clay Rainbow Fish Using Wax Crayon Shavings from Adventures of Adam
Simple Invitation to Draw with Crayons at an Easel from Stir the Wonder
To find even more positive parenting tips, follow me on Facebook and Twitter.
You can also find me on Pinterest!
To a new and wonderful view!


So pretty! And such a creative way to decorate your windows!
We kept it up from the Spring all the way into Summer because it looked so nice. Thanks for dropping by Carla!
Oh this is so pretty and a fab way to use old crayons and learn about melting
Thanks for dropping by Jen!