Have you noticed those cute little foam eggs at the dollar store lately? Every year they have them around Easter, and every year I have bought a pack while the crafty part of my brain has wondered… How exactly am I going to use these?
Until now! Today’s post will show you how to make some beautiful marbled foam eggs with your kids that you can use for a variety of decorations for Easter.
The best part of foam eggs is that they turn out beautifully – all without the mess (and pain!) of having to blow out the yolks!
And because we love to mix learning with our fun, we also have a review of the perfect Easter book for you to read with your kids to go along with this activity!
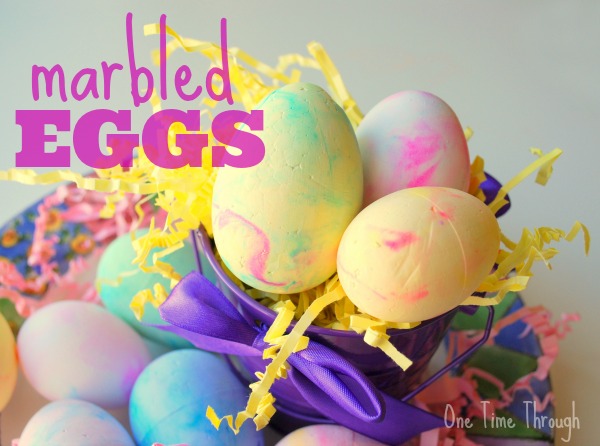
Another fun part about this activity is that it combines sensory play with a crafty creation. Onetime really enjoyed the messy process of making these eggs and we both really like the pretty products.
Supplies
- A variety of foam eggs like these: Lightweight and Smooth Foam Easter Eggs for Crafts, Easter Decor, and Decorating- Package of 24
- Food colours (Neon colours work best)
- Pastel acrylic paints (think: pink, yellow, pale green and blue)
- One can of shaving cream
- An old cookie tray
- A fork or spoon or wooden popsicle stick
- Some white or beige paper, we used kids’ construction paper, cardstock also works well
- Not necessary but helpful: a rubber spatula
- Optional: Mod Podge Original 16-Ounce Glue, Gloss Finish
to seal eggs and make them glossy
Making the Marbled Foam Easter Eggs
To prep the foam eggs, you will need to give them a base coat of pastel-coloured acrylic paint. I did this step myself, but some kids will enjoy joining in on this part.
The second (and messiest) step is to spray the shaving cream all over a cookie tray. Now randomly drop spots of food colouring on top of the cream. We used blue and deep purple.
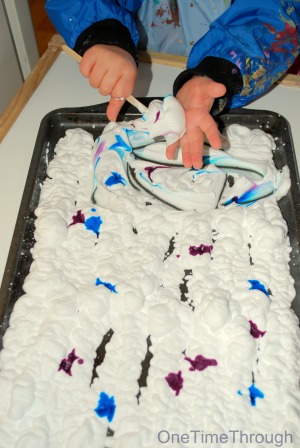
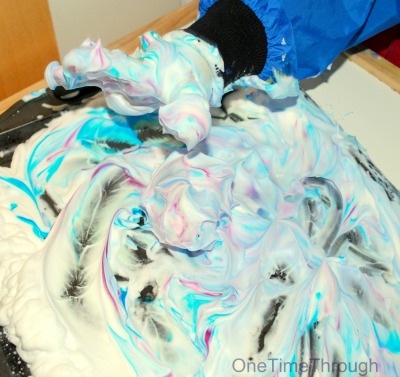
Once the sensory play has exhausted itself, bring out the eggs, and have your child roll them in the shaving cream until they are covered.
Now set them aside on a paper towel or plate without removing the shaving cream.
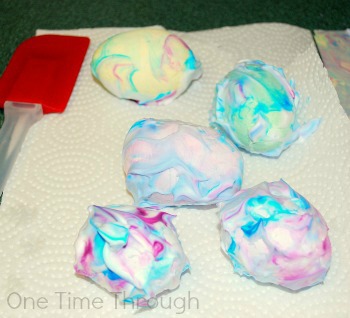
The eggs turn out much nicer if you let them sit for at least 20 minutes. This lets the food colouring soak into the egg a bit more.
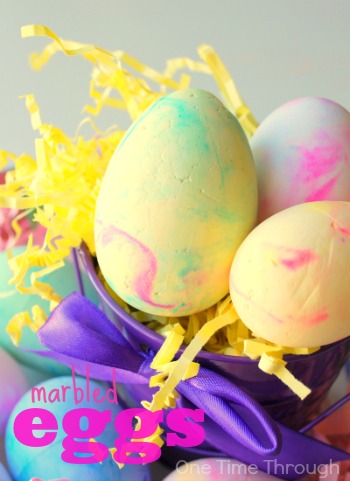
In the end, you will have some beautiful swirly coloured eggs!
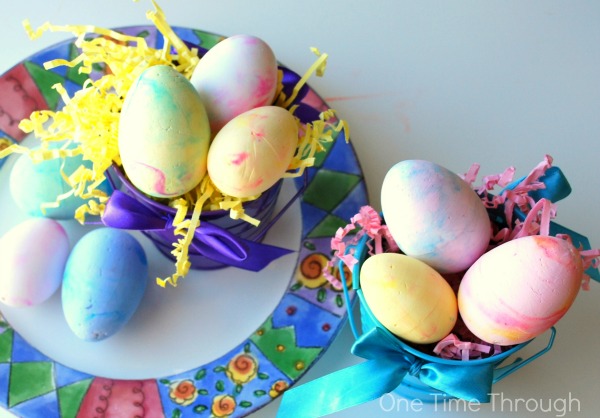
Oh – and I almost forgot to mention that you can also make some beautiful marbled paper by just pressing some white or light coloured paper onto the top of the shaving cream too. Our paper turned out very nice!

Okay – now that you’ve got some beautiful eggs and paper, you have to decide what to do with them.
Using the Marbled Foam Easter Eggs
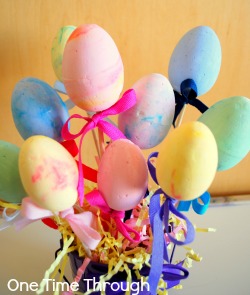
- Poke wooden skewers into them and make an egg “bouquet” for an Easter centerpiece
- Add the egg skewers to an Easter flower arrangement
- Place them in a cute basket for display
- Display them in a homemade bird’s nest
- Use them to make an Easter wreath for the door
- Shellac them and let your child give them as gifts to friends and family with a homemade Easter card made out of the marbled paper
- Get some toothpicks and challenge your child to make an egg sculpture out of them like we did with these foam spheres
- Use them in a 3D Easter Collage masterpiece
So many ways to use them – I’m sure you have an idea that I haven’t thought of (write a comment below – I’d love to hear it!).
Why not let your child pick an idea – or ask them what they would like to do with them.
Now I also promised I’d have a review of a fabulous Easter book that would accompany this activity perfectly. Here it is. The book is Gail Gibbons’ Easter.

She talks about the religious origins of Easter, as well as explains many of the Easter symbols and modern practices of Easter egg giving and the Easter bunny. (I even learned a few things!)
Her illustrations are always colourful and captivating and Onetime really enjoyed this book as a toddler and now as a preschooler.
When we do a hands-on activity like this, I usually like to read a related story before and after – so that Onetime really understands how what he’s doing is related to the bigger picture.
Follow One Time Through’s board Easter Crafts and Activities on Pinterest.
To find even more fun and educational activities as well as positive parenting tips, follow us on Facebook, Twitter, and Google+.
And if you don’t want to miss out on any more of the fun we have here at One Time Through, sign up for our NEWSLETTER today.
You’ll receive notifications by e-mail of new posts, a monthly newsletter jam-packed with fun, and you’ll also receive access to your exclusive FREE copy of all our newest printables! Click HERE to subscribe.
Thanks for dropping by today!

Love this craft idea! Worked well for us in past☺ fun and easy!
Yep – it’s definitely a FUN one to do!