Making books with your child is one of the best ways to get them excited about reading and writing! Kids of all ages like to feel the thrill of creating something that someone else can read aloud and enjoy.
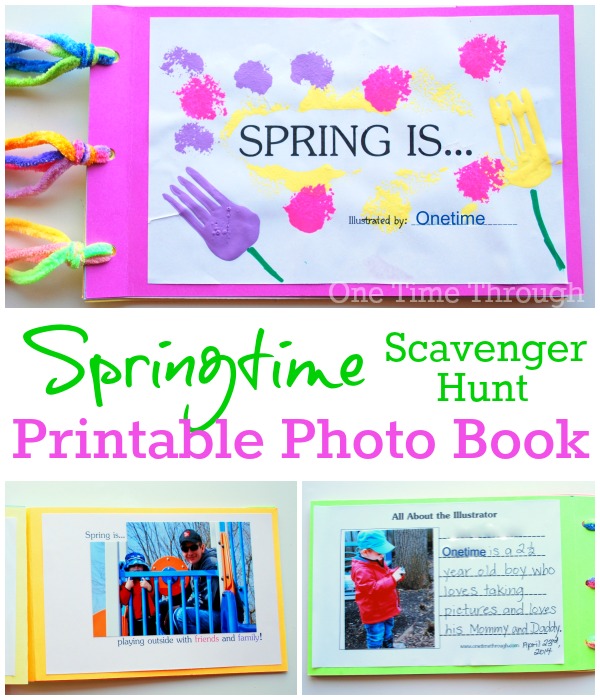
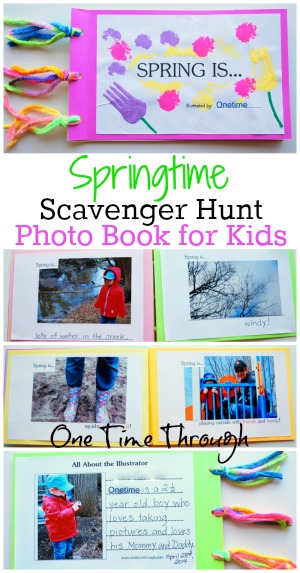
With my free spring book printable, you can turn some outdoor exploration (in the form of a Springtime scavenger hunt!) into a really simple-to-make pattern book that gives your child a chance to both photo-illustrate and write their own text.
This post includes Amazon Affiliate links. Please see Disclosure for more details.
To start – download this FREE “Spring Is…” printable pattern booklet. It has 8 pages – each with a sign of Spring that you can look for with your child (think: scavenger hunt!). The book also has 2 pages with blank lines where you and your child can record your own ideas!
Part of what makes this book so fun for kids to make is they get to either illustrate it themselves, or take the photos for it like my son did.
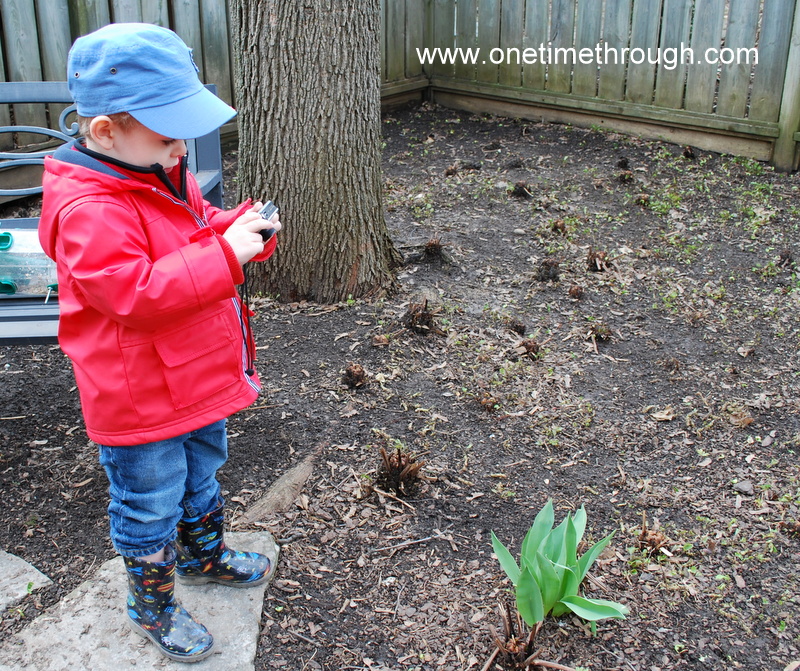
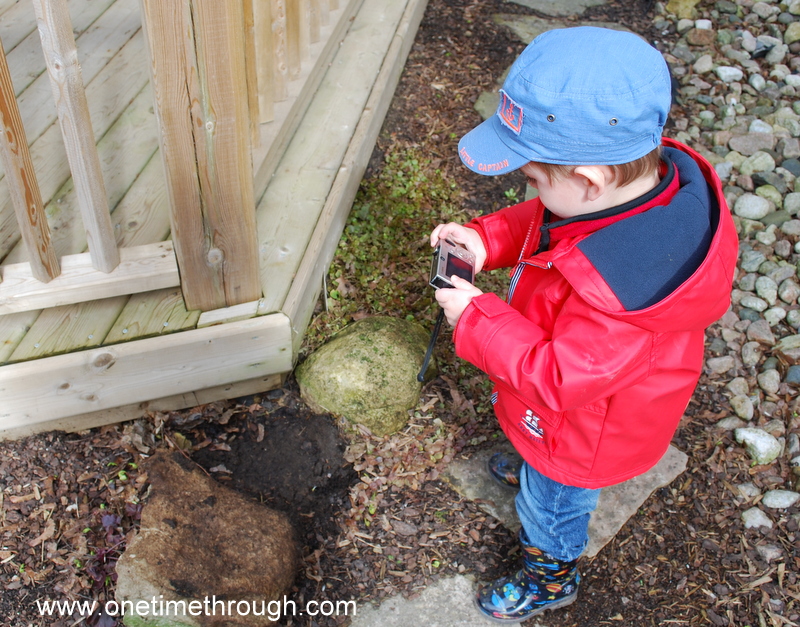
Onetime (my 2.5 year old son) is actually pretty good at using a camera now. We took the booklet outside and looked around our house and the local park for the 8 signs of Spring. When we found one, Onetime would take a picture! He loved this!
Capturing green plants and signs of insects!
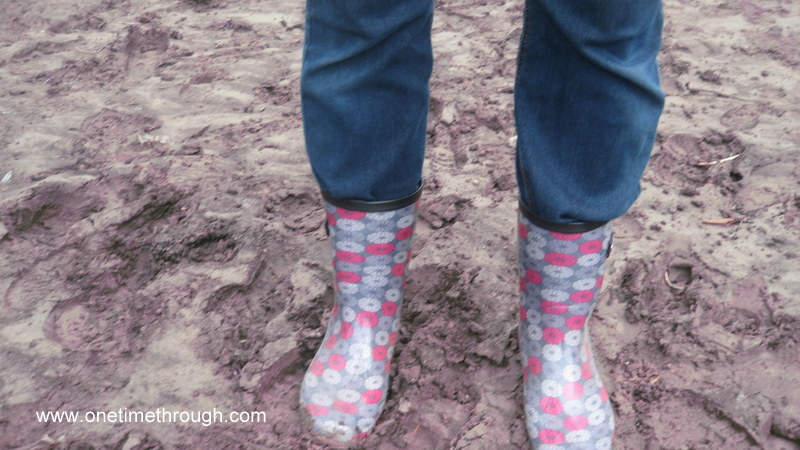
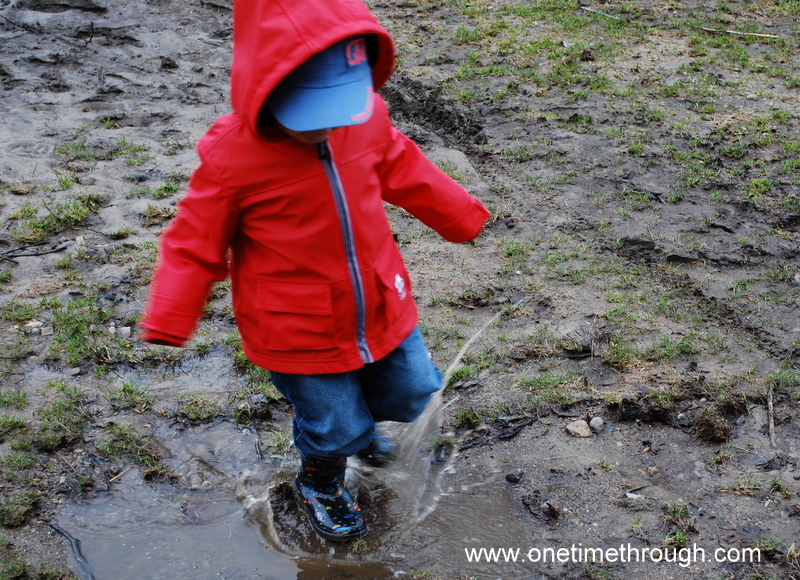
Down below shows one of my favourite pictures that Onetime took to photo-illustrate one of the signs of Spring – mud! It’s a little out of focus (we’re working on that), but I think he captured it well – don’t you?
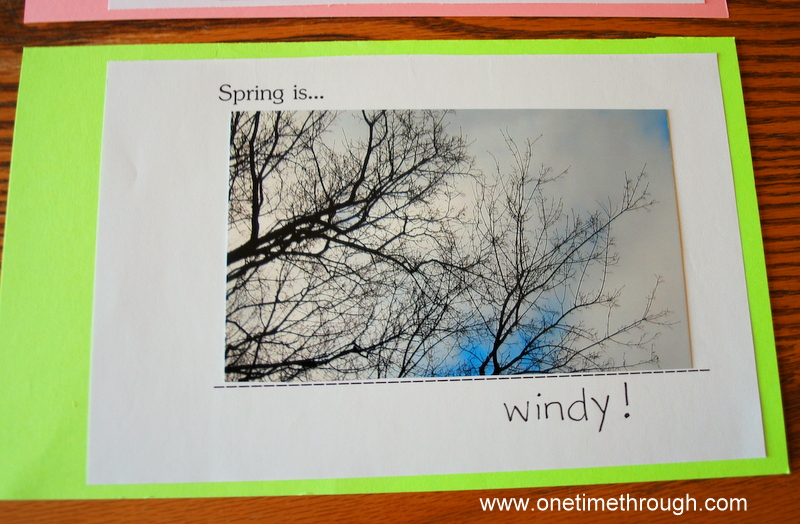
I also encouraged Onetime to take pictures of other things he found interesting while on our hunt. Onetime took this beautiful picture of our front yard tree!
It then became a photo for one of the “make up your own sign of Spring” pages.
We had so much fun on our Spring Scavenger Hunt! I caught some really nice moments on the camera too!
How to Make the Photo Book
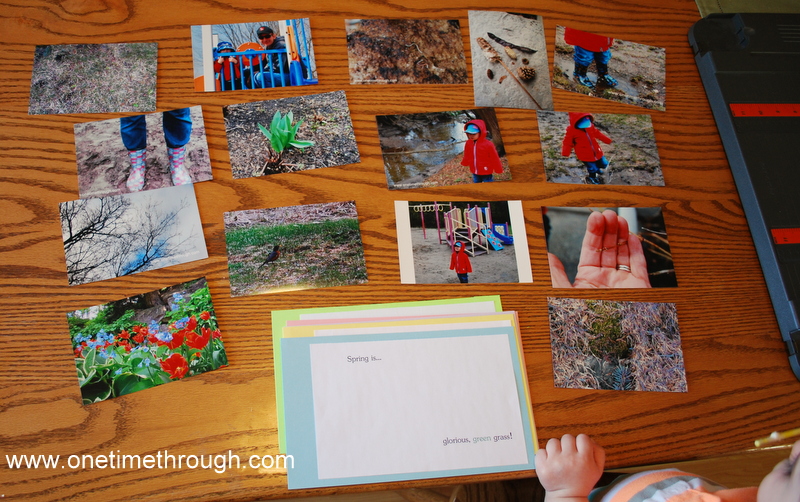
To put our book together, we printed off all the photos Onetime had taken. I took a few as well so that Onetime could see himself in the book too!
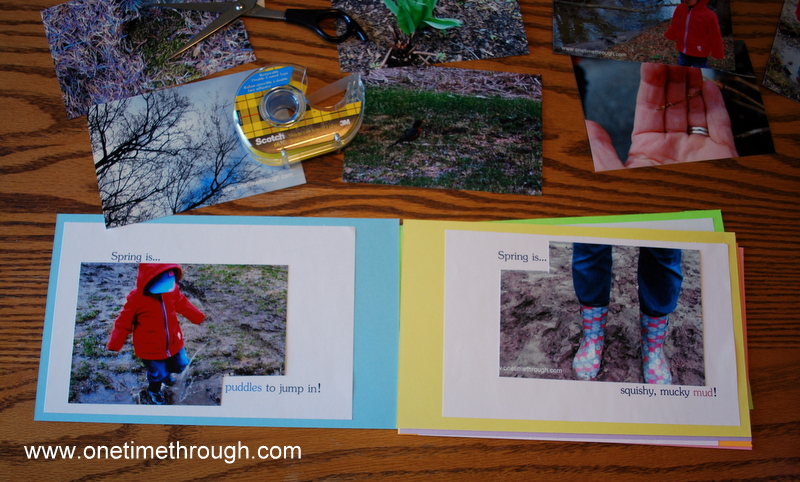
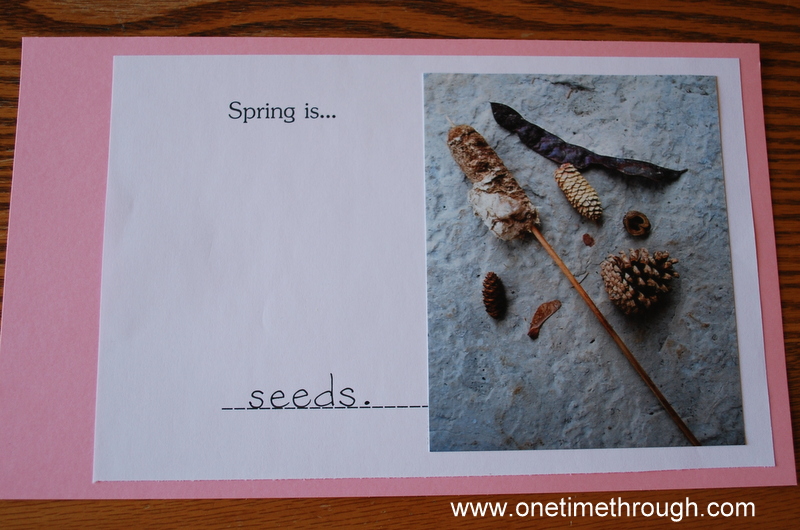
We laid them all out on the table and had the blank pages of our booklet in front of us – ready to match. I read each page out loud and then Onetime picked out the picture that went with the sign of Spring. Then we taped the photo onto each page using double-sided tape.
To make our booklet a little sturdier, I taped each booklet page to a piece of spring-coloured cardstock.
On the left side of each piece, I left extra space for a spine. We used both sides of the cardstock pages and had to trim a few of the photos to fit the page nicely.
We also picked out our favourite extra photos, taped them in, and then filled in the blanks on the last 3 pages.
Decorating the Cover
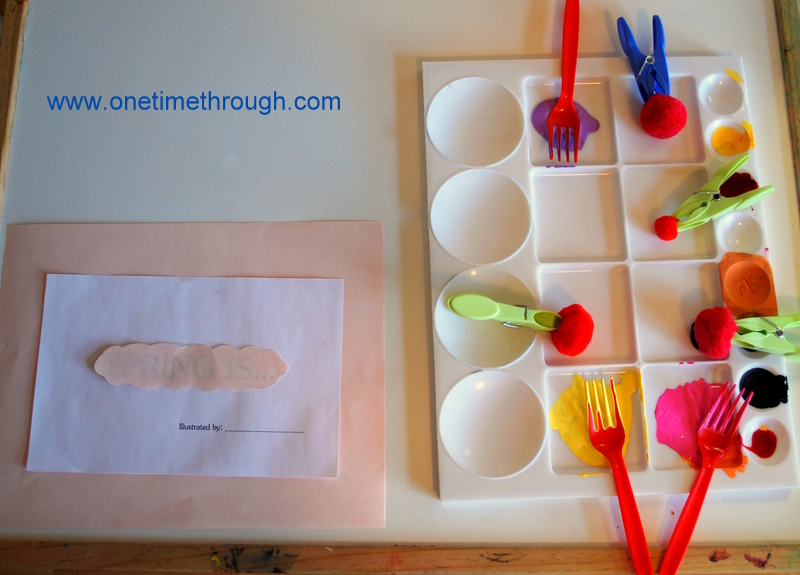
To decorate our cover, I got out some acrylic paint, some forks, pompoms and clothes pegs.
I cut out a cloud-shaped piece of paper to cover and protect our title and used removable tape to fix it down. I found the fork-painting “tulip” idea at: http://www.blogmemom.com/spring-art-tulip-painting
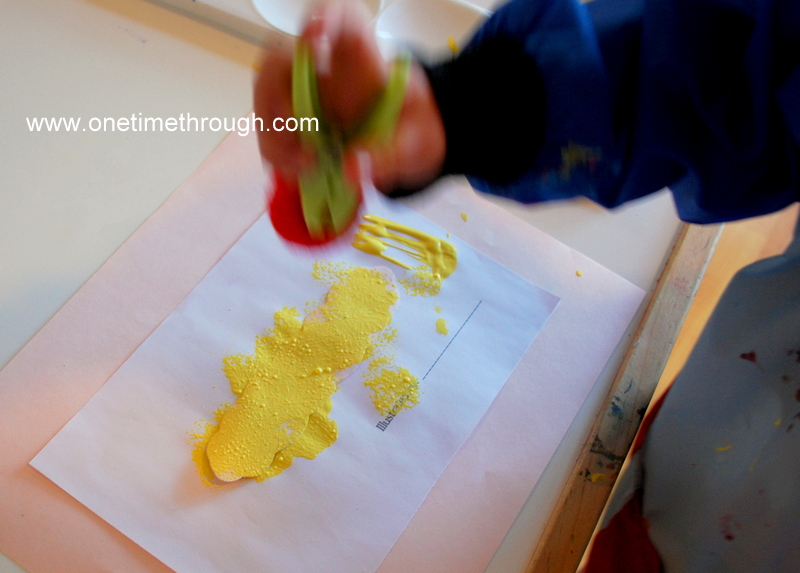
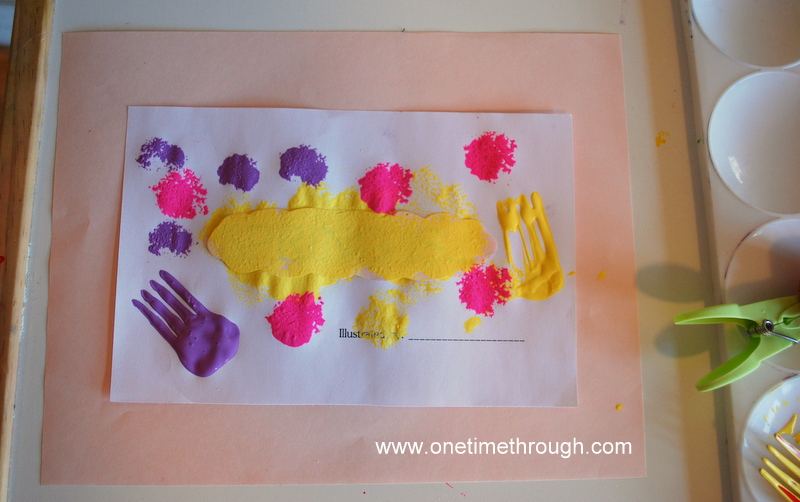
Onetime made some nice yellow tulips, but really enjoyed using the pompoms to create delightful little splashes of colour all over the title page!
This was the final artwork before removing the title “mask.”
After the paint dried, we filled in the stems with a paint marker and added Onetime’s name. “What’s an illustrator Mama?” Awesome questions!!!
We also punched 3 holes in each page and tied some colourful strings to hold our book together. Notice that I folded each page about 1″ in to give the book a spine and make it easier to turn pages.
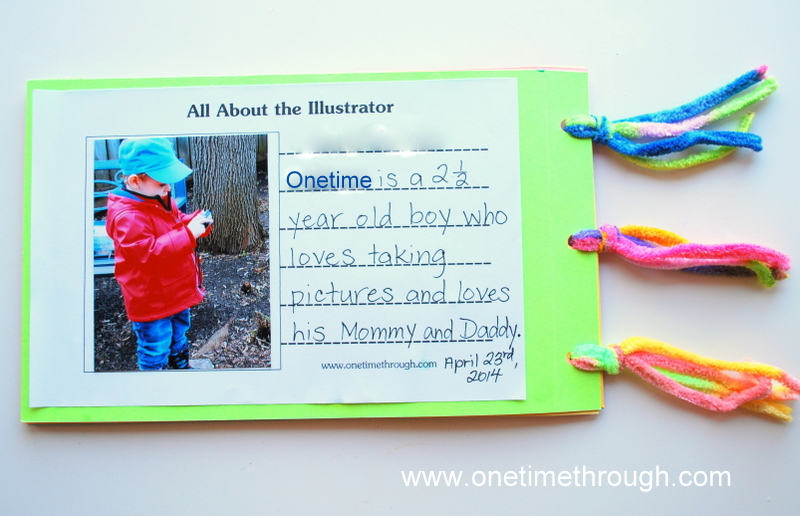
To finish our book, we filled in the “All About the Illustrator” page on the back cover of our book.
I prompted with: “Onetime is a 2 1/2 year old boy who loves….” and my son finished the sentence while I scribed! Couldn’t have phrased it better myself!
Phew! I know that seems like a lot of work, but it really was fun and my son was engaged throughout the entire process!
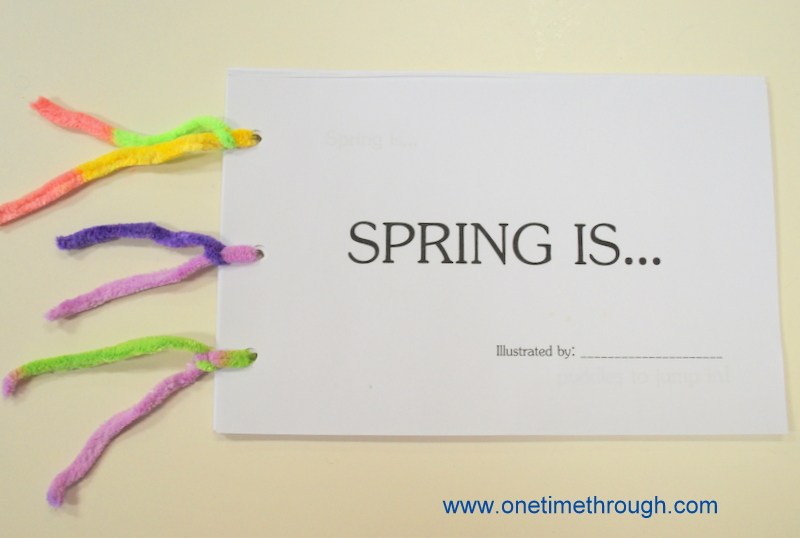
It did take some time for me to cut out the cardstock, but you wouldn’t have to do that – your booklet could just look simpler like this:
You could even just use the booklet as a spring scavenger hunt list and have your child draw their own pictures.
I just tend to do things BIG when we do something. My dad always used to say…”If it’s worth doing, it’s worth doing right!” and I took that a little to heart!
BUT – I am a stay-at-home mom and have the luxury of having a son who naps 2 to 3 hours a day still each afternoon!
Making books with your child doesn’t have to be a big task. Your child is guaranteed to LOVE the book if they’ve contributed in any way!
I hope you’ll give it a try! I’d love to hear how it went if you do!
To find even more fun and educational activities as well as positive parenting tips, follow me on Facebook, and Twitter.
Happy Spring!
Check out other awesome Spring projects at:
Follow One Time Through’s board Spring Kids Activities on Pinterest.


What a fabulous activity idea. All my kiddos would LOVE it, especially if I game them a camera! Thank you so much for linking up to Kids Learning Printables Linky Party. I can’t wait to try this out soon!
Thanks Renae! The camera was exactly why my little guy loved it – he basically created his own book! Hope your kids have fun!
What a fun idea!!! Thanks so much for sharing!
Thanks Anastasia!
What a great idea!
Thanks Just Add Honey!
I love that you turned it into a book! Now you’ll be able to look at it even when spring is long gone!
Thanks Emma! Yep – will be a nice read next Winter when we’re feeling like Spring will never come!
I just wanted to stop by one more time and let you know you’ve been featured at the Kids Learning Printables Linky Party this week! We hope you stop by again and link up more fabulous printables!
Thanks Renae! That’s awesome! I will for sure!