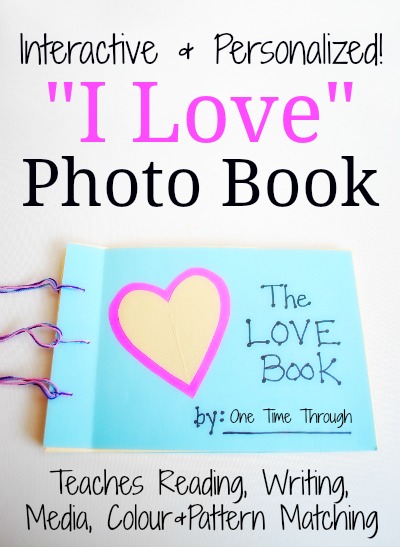
Are you a scrapbooker? If so – you know how much fun it is to have a book made about you! Today I’m sharing instructions for a book that I made with my son Onetime when he was 3 years old for Valentine’s Day.
This personalized and interactive love photo book focuses on all the things that your child LOVES, and is a lot of fun to make and read with your toddler or preschooler. Trust me – it’ll become a favourite read for months! (If not years…)
This post contains Amazon Affiliate links. Please see our Disclosure page for full details.
I love making books with Onetime. As a teacher, I know how much kids of all ages like to make books of their own, and how they encourage even reluctant readers to read.
There are so many benefits to making books with toddlers and preschoolers (and any elementary aged kids). For little ones, they teach kids that what they say can be written down as words. For older kids, they create a super-motivating way to practise reading.
The best part? You don’t need to be artsy or an amazing writer to do this with your child. And your child is going to love the personalized media component!
Supplies for the “I Love” Photo Book
-
- 9 to 10 different coloured and patterned scrapbooking paper/material squares – each approximately 6 1/2″ by 5″ ( we used 9 of them – one for each page of our book)
- 1 piece of coloured cardstock paper for cover of book, 12″ by 12″, any colour
- 7 pieces of beige/tan/white cardstock paper, 12″ by 12″, for inside pages and paper hearts
- permanent marker/s
- coloured string to bind book, or shower clip rings
- a camera and access to print photos (optional but super-exciting!)
- a plastic envelope with a tie up option is nice, but not necessary, any envelope approximately 7 1/2″ by 5 1/2″ will work to store hearts at back of book
- a glue stick
- a hole puncher
- a paper cutter is handy (I use one similar to the Fiskars one below), but scissors and a ruler would be fine
How to Make an “I Love” Photo Book
Step 1: Create Your Hearts (parent prep)
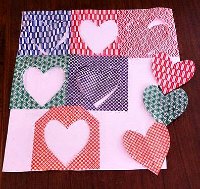
Freehand draw and cut out a nice fat heart for a template (approximately 3″x 3″), and trace it onto each of your coloured and patterned pieces of paper/material.
Cut out your heart shapes along the lines and keep the 6 1/2″ x 5″ frames.
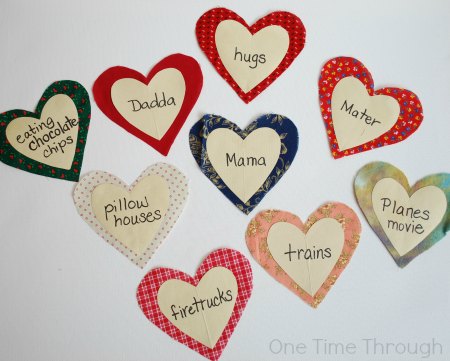
Onetime’s favourite things when he was 2 1/2. Most of these haven’t changed at 3 1/2 (although we now go by Daddy and Mommy instead of Dadda and Mama!)
Step 2: Record Your Child’s “Loves” (kid and parent part)
This was a fun discussion! I sat down with the hearts and a marker while my son ate his breakfast one morning and I asked him to tell me all the things he loved. Each thing he told me, I recorded on a separate heart.
If you child gets stuck for ideas, prompt him/her to tell you their favourite game, toy, thing to do, people, movie, etc.
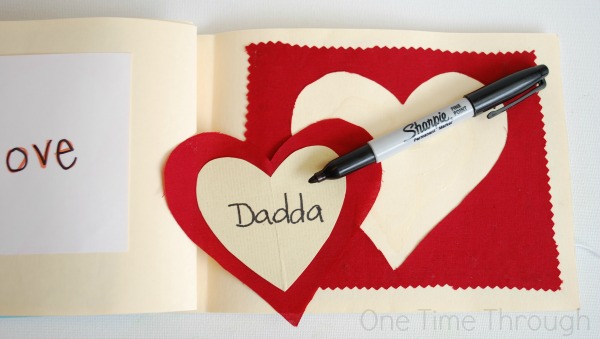
Step 3: Creating the Pictures (kid part with parent help!)
You’ve got two options now. You can either have your child colour pictures of each thing they love onto paper hearts (or you can draw them!) – OR even better – have them take photos of the things they love!
We got out the camera and started shooting! Onetime loved using the camera as a toddler and was actually pretty good at it. It never ceases to amaze me what 2 year-olds can do!
After taking pictures of all the things my son said he loved, we printed out our photos.
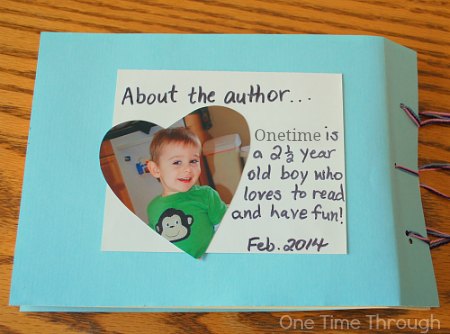
Oops! I forgot to mention that you should take a photo of your child as well, to use for the author’s blurb on the back cover.
Next, cut the photos into heart shapes a little bit smaller than the hearts that you cut out of patterned paper/material so they will fit inside the patterned frames in your book pages.
Step 4: Make the Book (parent part)
Create pages and an outside cover for the book by cutting your coloured cardstock and light coloured cardstock papers into pages that are 9″ long and 6″ tall for a horizontal booklet.
Arrange the coloured pieces on the outside with 9 or 10 pages inside (one page for each thing your child loves).
Punch holes in the ends of all the pages and tie book together with string or use metal rings (see the top photo for inspiration!)
Inside the last page, glue the envelope to store all the hearts.
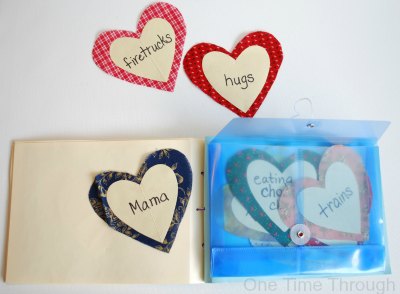
Step 5: Matching Hearts to Frames (kid and parent)
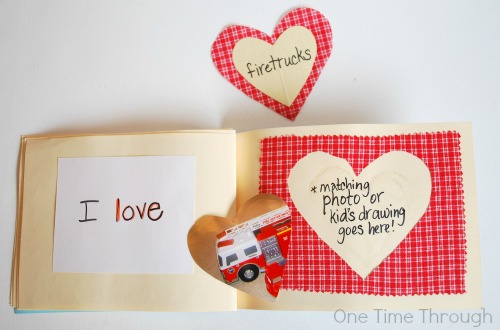
Flipping through the book, you now have to match up the patterned hearts with the frames. Get your child to help with this!
Once the heart is matched with its frame, look at the word that was recorded on the heart, and have your child find the photo that goes with it.
Glue that photo into the book inside the patterned frame.
Now each page has a photo and a matching patterned heart with the words to complete the “I love” sentence.
Step 6: Decorate Covers (kid and parent together)
Create a front cover with your child by recording the title and decorating (we just used heart cutouts for our front, but you could try some heart paper roll printing or whatever you like!). Be sure to add your little author’s name.
Have fun filling out an Author’s blurb on the back with information about your child – like his/her age and where he lives etc.
You could even try asking your child what they think the word “love” means and record that there too for posterity! (Wish we’d done that!)
 Step 7: READ and READ again!!!
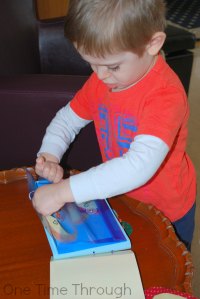
Once it was complete, Onetime wanted to read his book 3 times right away.
The first time I read the “I love..” parts and he completed the sentence by looking at the pictures. Then we found the matching heart with the words (using the patterned material).
By the third time, Onetime was basically reading the book himself!
When I first showed him the picture of himself that I had added to the back “Author’s Blurb” – he beamed. He was so excited to see his ideas and his photos in a special book that he created!
I hope you didn’t get overwhelmed with all the steps to making this fun “I Love” Photo Book. It seems much more complicated when writing the steps than it did when we were making it. Once you’ve got your materials in hand – you’ll see how easy it is.
Hope you give it a try and create your own book with your child or children to enjoy.
Today’s post was a part of a larger blog tour called the 14 Days of Love. From February 1 to 14th, bloggers are posting fun hands-on activities for kids that have to do with expressing LOVE. To find all the posts, visit this site or click the pic below.
Follow One Time Through’s board Valentines Day with Kids on Pinterest.
To LOVING crafts that bring us together with our kids!


What an adorable idea! I love that it is interactive, educational and personalized. Nice work!