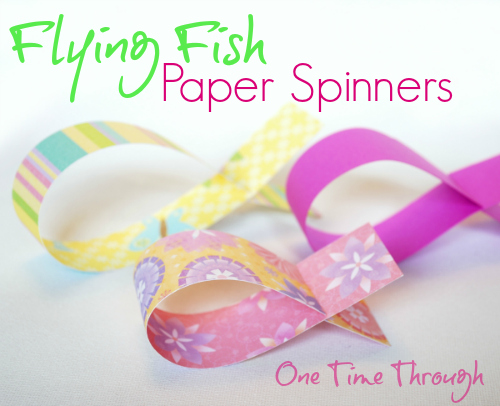
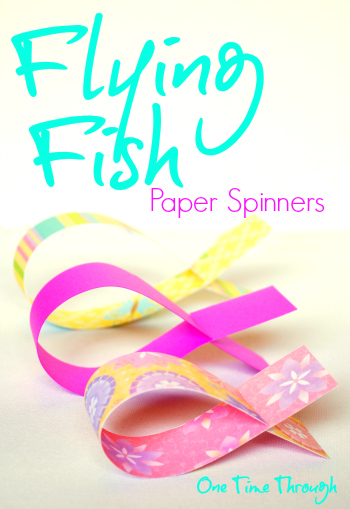
After scribbling all over his strips, cutting them and folding them up, Onetime dashed excitedly outside to the back deck of our house to test his new “Flying Fish” paper spinners!
“It spins Mommy! It spins!” he yelled as he ran down to the backyard to retrieve his new creation. They cost exactly $.50 to make at least 10 and they entertained us for at least 45 minutes yesterday. Frugal fun for blah days!
Check out our instructions for the Flying Fish Paper Spinners!
This post includes Amazon Affiliate links. Please see Disclosure for more details.
The Inspiration…
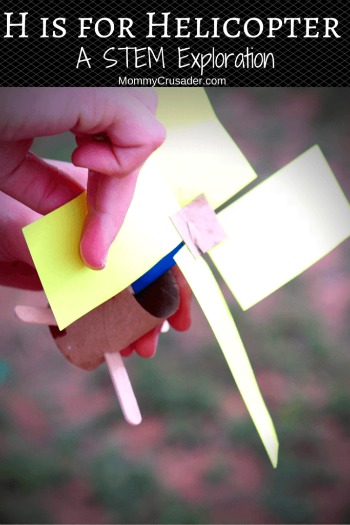
Our fun craft today was inspired by this post homemade helicopter from Mommy Crusader and Her Knights and Ladies.
This busy blogging mom did a fantastic scientific exploration of paper helicopter making with her kids.
They created and tested their own flyers – learning the whole time and having fun too! Be sure to check out her post!
While our flying fish paper spinners, are not an open-ended creative activity, they are quick and FUN to make and test too!
Materials for Flying Fish Paper Spinners
- Paper (we used coloured scrapbooking Cardstock Paper )
- Scissors
- Crayons or markers for decoration
That’s it! You might want a pen too, but I’m sure you have one kicking about!
Making the Spinners

First, cut your paper into long strips about 2cm wide and however long you want.
A couple cms from each end (or approx. 1 inch), make a small line on opposite sides of the strip, as shown in the picture to the right.
Have your child snip along the lines. Be sure not to cut all the way across!
Show your child how to bend the paper and cross the pieces so the tail holds itself together. They just slide in along the slots.
Decorating the Spinners

Onetime also had fun decorating his flying fish.
I think he told me he was drawing pipes and sewers. Um…okay.
I’m not surprised though. Ever since we started investigating how toilets work in our house last week, everything has been about pipes!
Flying Fish!
After we had made a pile of fish of different sizes and colours, we had fun tossing them off the back deck for a good half hour.
The fish look so cool as they are flying! It’s really hard to explain and impossible to catch on either a camera or a video camera – believe me I tried! But your kids will love it too.
Boost Science Skills
If you want to get more scientific about the whole activity, why not make fish of different lengths and widths and have your child predict which ones will go fastest, or how they might fly differently. Test out your child’s hypothesis.
Other Ideas?
When you’re all done with the tossing, why not make the fish into a mobile by hanging each one from its “mouth” with thread from a clothes hanger or pretend fishing rod?
Hope you enjoy trying these adorable and fun flying fish paper spinners! Perfect for getting the kids outside in the fresh air!
You might also like…
To find even more fun and educational activities as well as positive parenting tips, follow me on Facebook, and Pinterest.

What a fun idea, my kid’s will love it!
Thanks for dropping by Katie. Have fun with them!