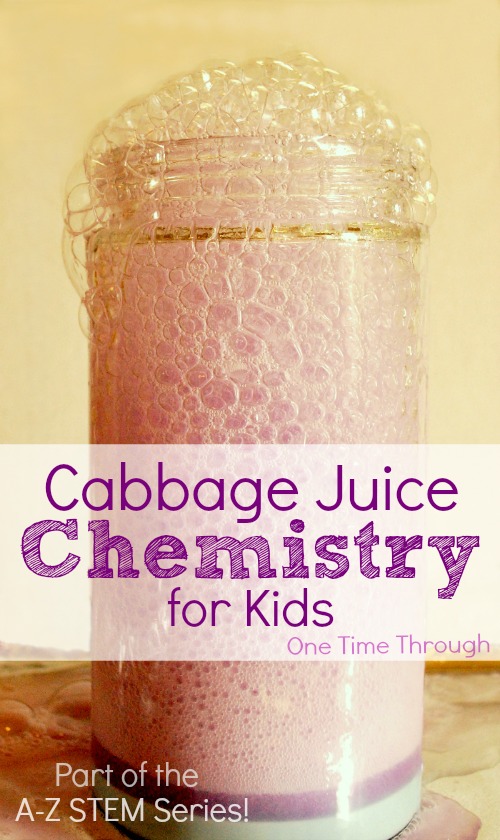
Science is fun and kitchen chemistry is even more fun! Our most popular post last year at One Time Through was our Hopping Corn chemistry activity and so I thought I’d whip up another fun activity that you can do at home with very few ingredients and a HUGE WOW factor – and so I present…Cabbage Juice Chemistry for kids!
If you took any science in high school, you will surely remember a little bit about acids and bases, cabbage juice, or at the very least Litmus paper. Is it all coming back now? LOL. Hopefully that’s a good thing!
Did you know that cabbage juice is a purple coloured liquid that changes different colours when it comes into contact with other substances that are acids and bases?
It’s super easy to make at home for fun kitchen chemistry experiments (think colour changing foaming eruptions!), and I will show you how you can even use it to make your own Litmus papers to test substances for acidity!
Cabbage Juice Chemistry Supplies:
- a red cabbage to make cabbage juice
- a tall see through container
- vinegar
- baking soda
- unused coffee filters
- a variety of liquids from around the house like: lemon juice, hand soap or shampoo, orange juice, pop etc.
Preparation:
- Make your cabbage juice by chopping up a red cabbage into fine pieces (think coleslaw!) and place them in a heat proof bowl.
- Now pour 2 to 3 cups of boiling water over the cabbage and let it soak for at least an hour. The longer you let it sit, the more concentrated the juice will become.
- Use a strainer to remove the cabbage and save the juice!
Cabbage Juice Chemistry Experiments
Before you begin doing any experiments, it’s helpful to know that cabbage juice is an “indicator” liquid which turns red (or pink) when it comes into contact with an acid (pH less than 7), and it turns blue or bluey-green when it comes into contact with a base (pH greater than 7). For even more chemistry details, read Steve Spangler’s Red Cabbage Chemistry post.
Experiment #1: Colour Changing Foamy Eruption Chemistry
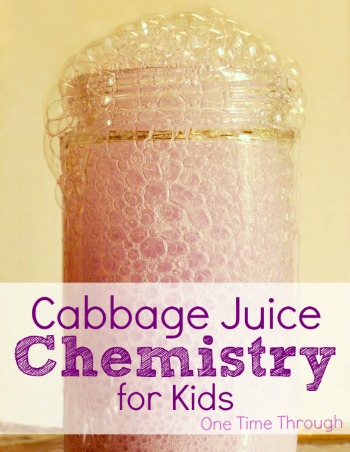
- Place some cabbage juice in a tall see-through container. Have your kiddo note the colour of the juice (purple).
- Have your child add some baking soda and stir (we added approx. 1/2 cup). The juice should now turn blue or bluey-green to show the liquid is now a base.
- Now have your child slowly add some white vinegar (we used about 1 cup). Before you do this step, make sure that your container is either in a sink, or on a cookie tray to catch any spills!
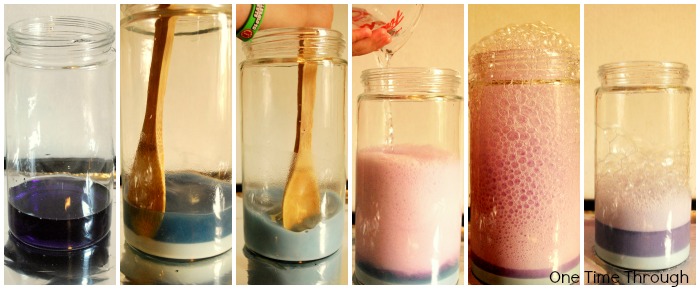
Once the reaction has completed, you can see if you can add more baking soda to eliminate the pink colour and bring the liquid back to purple or blue (a base) again.
Experiment #2: Cabbage Juice Testing
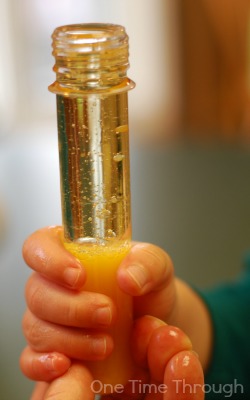
Now that you have lots of cabbage juice – you can also have fun with your child testing different liquids around the house to see which ones are acidic or alkaline (bases).
To do this, just pour cabbage juice into a bunch of small plastic or paper cups and then add different liquids in and note the colour changes.
Experiment #3: Homemade Litmus Paper Testing
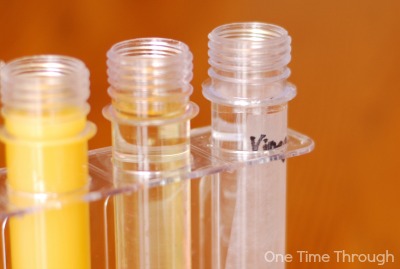
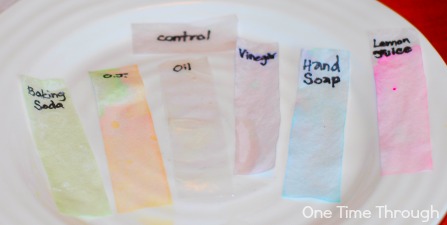
You can also have fun making homemade Litmus papers like we did. All you do is soak a couple of coffee filters in a bowl of cabbage juice for an hour. Then let them dry and cut them into strips.
You can use the strips to test different liquids around the house as well. We tested our orange juice, our hand soap, vinegar, vegetable oil, a mixture of baking soda and water, and lemon juice. Do you see the strip dunked into the test tube on the right?
 Cabbage Juice Chemistry Art
If your child is still interested in exploring the properties of the cabbage juice, why not have them make some coffee filter Litmus art?
All we did was make a coffee filter Litmus – as I described above, but we didn’t cut it up. Instead Onetime and I just had fun dropping different liquids onto it using an eye dropper.
We created a pale, but pretty tye-dye effect paper. My son’s favourite part was getting to squish some of his favourite spider-man foaming handsoap onto the litmus paper!

And if you don’t want to miss out on any more of the fun we have here at One Time Through, sign up for our NEWSLETTER today. You’ll receive notifications by e-mail of new posts and you’ll also receive access to your exclusive FREE copy of our newest printable:
26 Quick Parenting Tips for NOW to Help Your Child Have Great Character LATER!
And you can find more fun Science ideas for kids on our Pinterest board: Follow One Time Through’s board Science Activities for Kids on Pinterest.
Today’s post is a part of a really cool A -Z STEM (Science/Technology/Engineering/ Mathematics) blogging series where a bunch of my favourite blogging friends have come up with fun and educational activities for each letter of the alphabet. The series just started, but find the master list here and be sure to follow along this month!



I love using red cabbage for our chemistry experiments! I’ve never done a color changing eruption, though, so we’ll have to be sure to try that! Thanks for the ideas!