I love the idea of spooky old houses! When I was a kid, we had a neighbourhood “haunted house” that we all called “The Moon House.” My friends and I would visit it and sneak inside, past boarded up windows, and explore. Completely reckless… and thrilling!
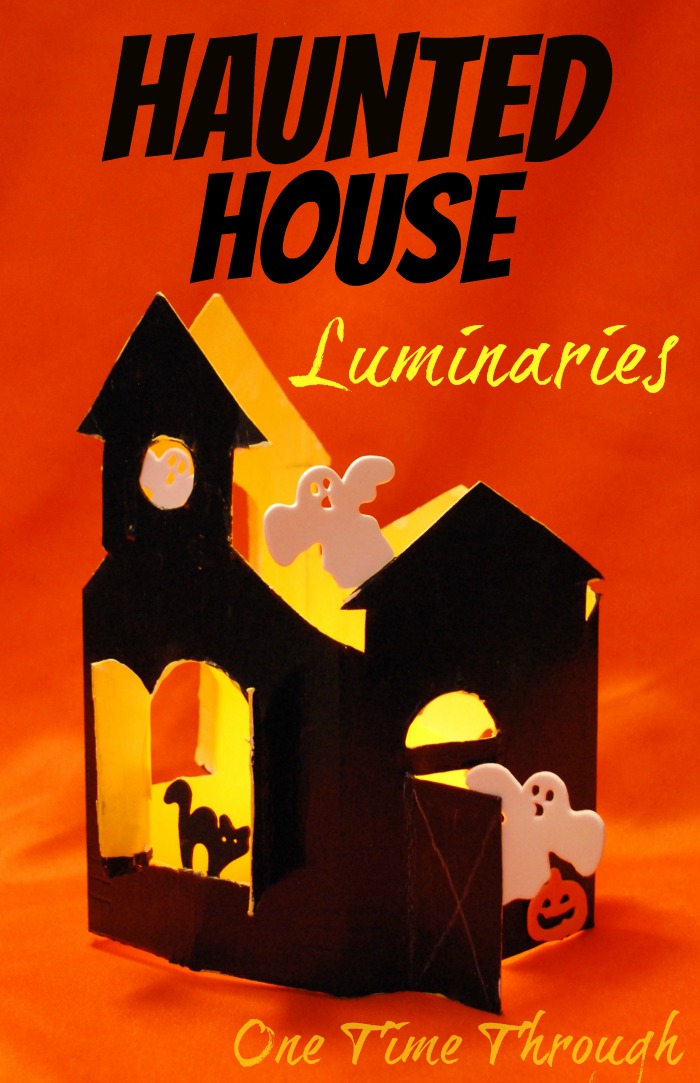
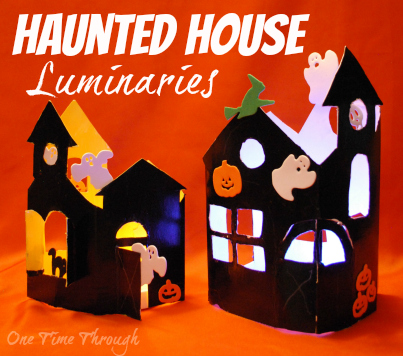
When I think of Halloween, I think of that house – full of ghosts of memories past and creaks and groans. I thought I could create some of that spooky fun with a craft this year with my son, Onetime, and so together, we created this adorable recycled box Haunted House Luminary.
*This post contains Amazon Affiliates Links. Please see our full Disclosure Policy here.
To make this luminary, you will need:
- An old box (cereal box, cracker box, granola bar box, milk carton, etc.) – great if it’s tall!
- Sharp scissors for small hands
- Black and yellow/white/purple (optional) acrylic paint and large brush
- A black marker
- A white crayon for decoration or a white paint pen
- Halloween themed fun foam shapes (dollar store! Love that place!)
- Gluestick
- An LED flickering candle (the kind put in pumpkins)
- Mod Podge CS11202 Original 16-Ounce Glue, Gloss Finish
(if you want the house to be shiny – totally optional)
Cutting Out the House
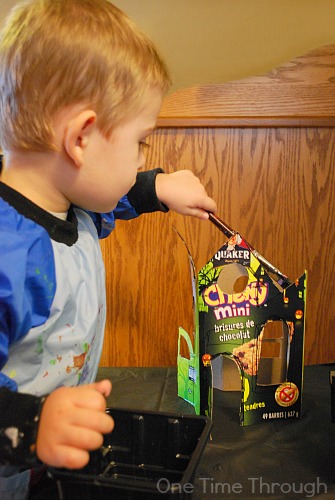
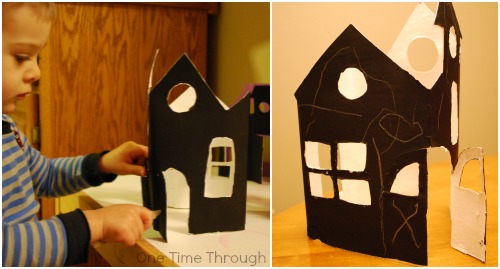
To start, clean and dry the box, then completely cut off the tops and bottoms of the box while it’s sitting vertically. You could technically keep the bottom, but removing it, makes it easier for kids to cut the rest of the project.
My son did a lot of the cutting – with my direct supervision and instruction, of course. Cutting the cardboard was great practise for him and with sharp scissors was easier than I thought it was going to be! (Except for the milk carton – that was tough, and I did that one.)
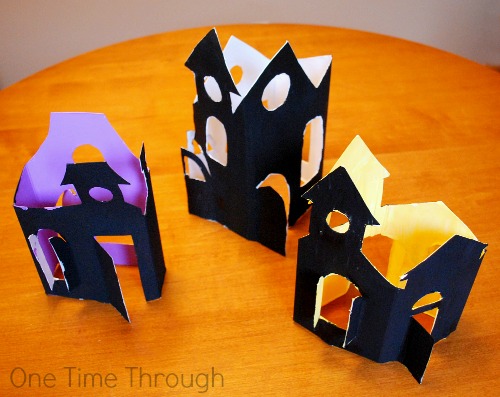
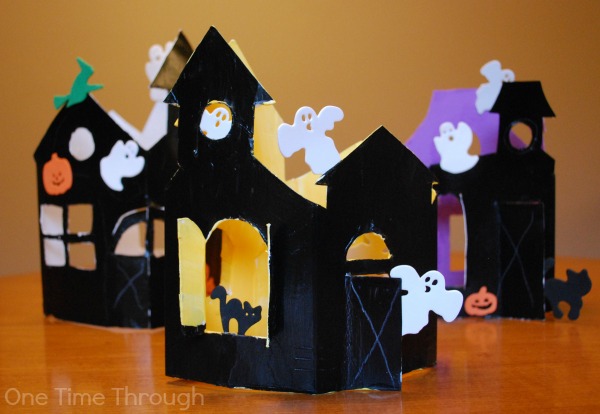
Next, using a black marker, draw the outline of the tops of a house on all sides of the box. We made a few houses – and tried pointed roofs, flattened roofs, chimneys, and towers. We also drew on where doors were going to be and windows.
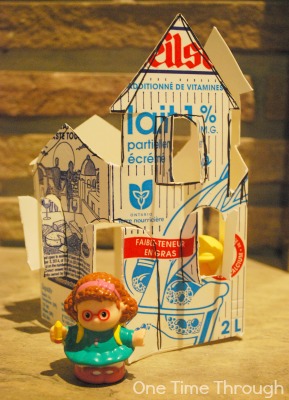
After the houses were all cut out (we made a bunch!), my son had fun playing with them with his Little People! Cute! My husband told me he actually took them outside to play with too this afternoon when I was out.
Painting the House
Decorating the House
When they were dry, Onetime added details with a white crayon. I love that he included “x”s on the doors to show that “you can’t go in there Mommy!”
If you’re looking for other spooky Halloween ideas for kids, check out our Halloween Fun Pinterest board!Follow One Time Through’s board Halloween Fun on Pinterest.
To find even more fun and educational activities as well as positive parenting tips, follow us on Facebook, Twitter, and Google+.
And if you don’t want to miss out on any more of the fun we have here at One Time Through, sign up for our NEWSLETTER today. You’ll receive notifications by e-mail of new posts and you’ll also receive access to your FREE copy of all our newest printables!
