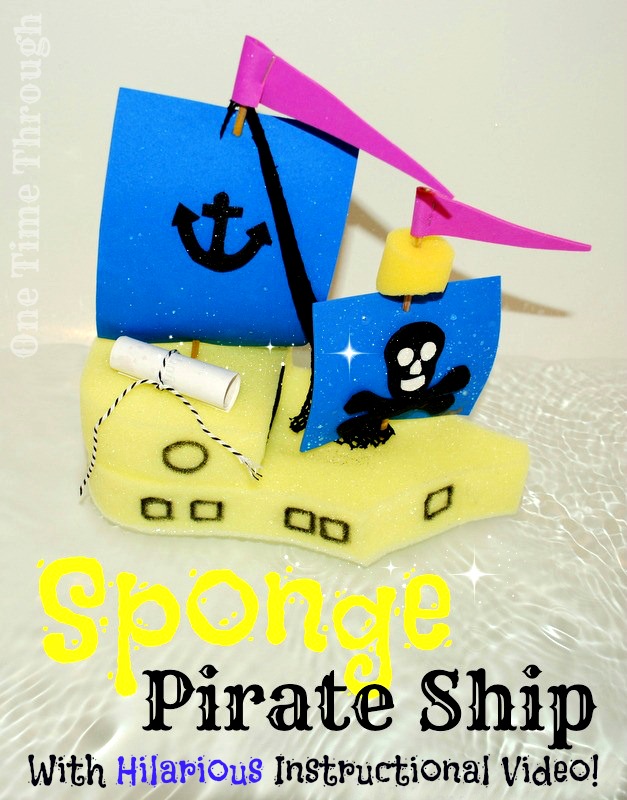
What child doesn’t like to play with a boat in the bathtub? How about a boat that they have helped make? One that floats really well and that they can use over and over again once squeezed out? Add in the theme of pirates – and you have an easy-to-make, and fun to decorate sponge pirate ship craft!
This craft is appropriate for many ages of kids. The younger the child, the more prep you will need to do, but kids of all ages can participate in choosing colours, decorating sails and naming the ship – and best of all – sailing the ship at bathtime (or outside!).
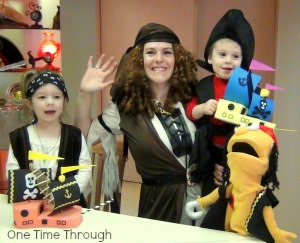
Watch our video below to learn how to make one with your child. The video is very child-friendly and full of piratical fun! (and stars myself, my husband as “Pirate Pete” and my son, Onetime!) – or read the instructions below.
Supplies for One Sponge Pirate Ship:
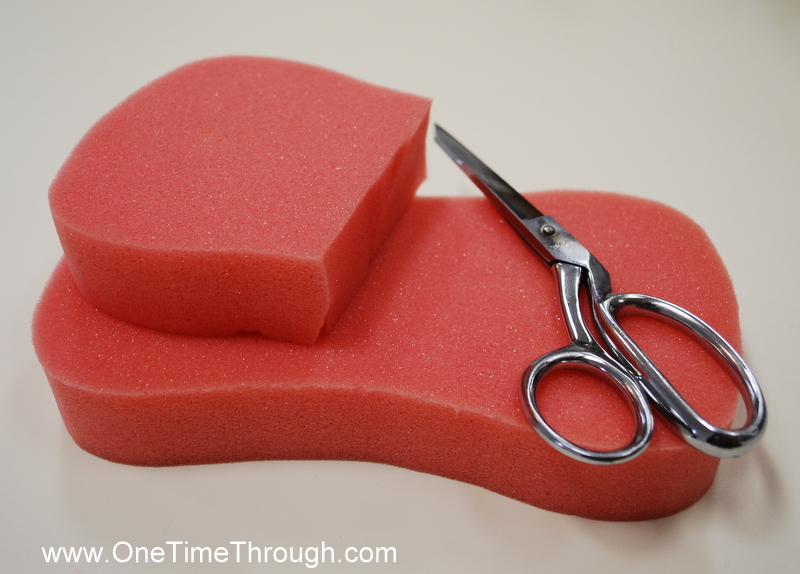
- 2 large car wash sponges
- 2 x wooden craft dowels
- A BBQ skewer or sharp pencil to poke holes in sponges
- 1 sponge paint dabber for a crow’s nest
- Fun foam sheets, assorted colours for sails
- A permanent marker to decorate
- Scissors
- Stapler
- Hot glue gun (optional)
- Rick rack, gold material, sequins etc. for decorating (optional)
How to Make the Pirate Ship
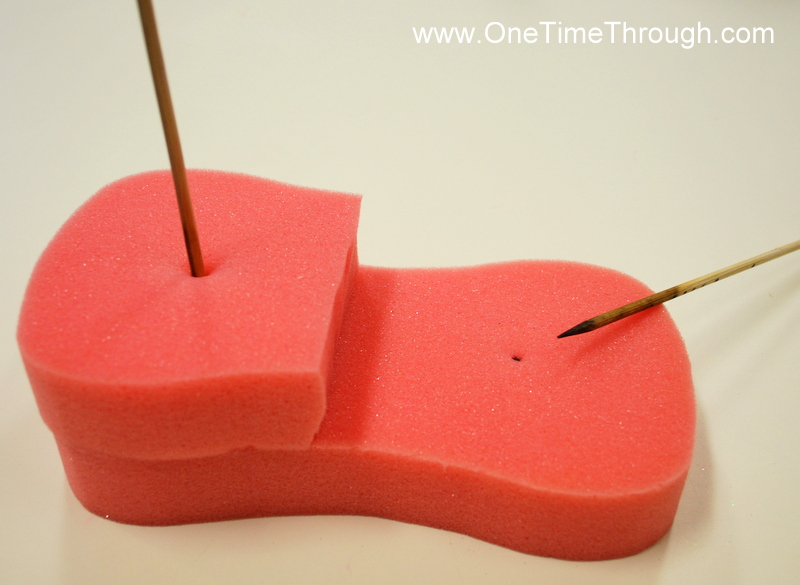
- Cut one of the sponges in half for the top deck of the ship.
2. Decide how many sails the ship will have (2 works nicely), then cut out a foam rectangle for each main sail (approximately 5″ x 4″ works well).
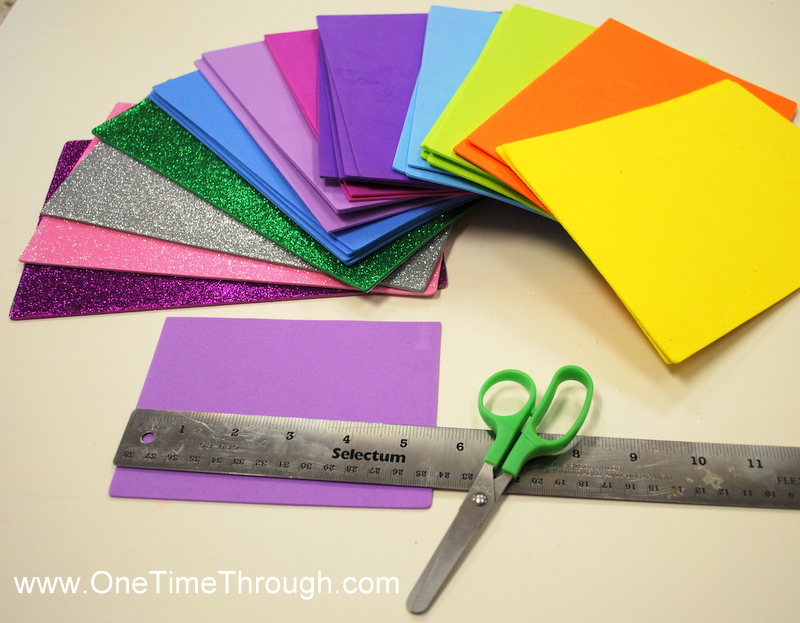
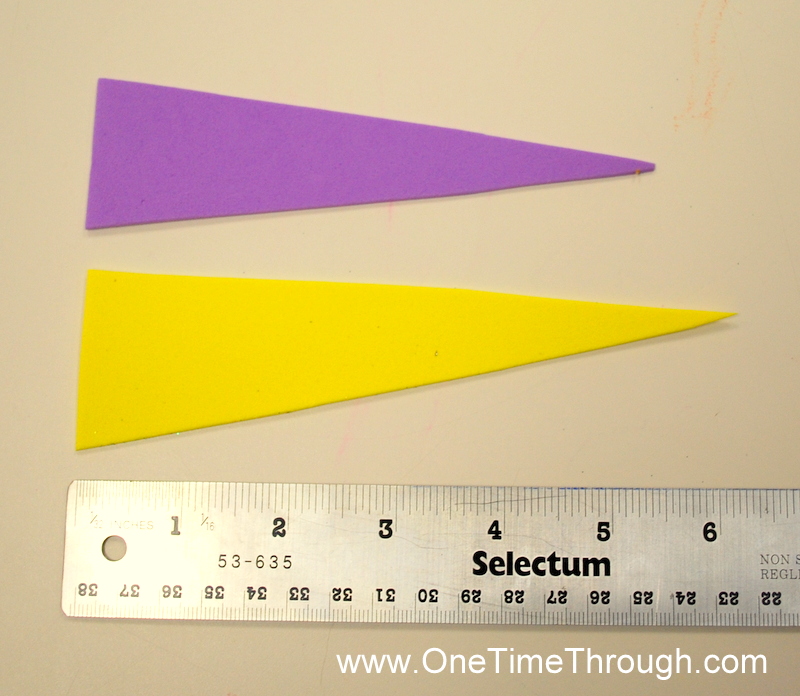
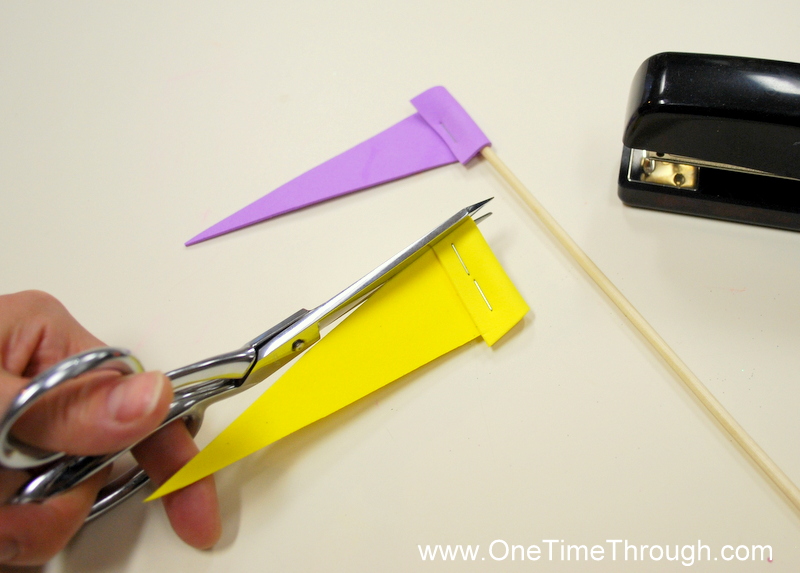
3. Cut out long skinny triangles for however many flags your child wants (5″ or 6″ works well).
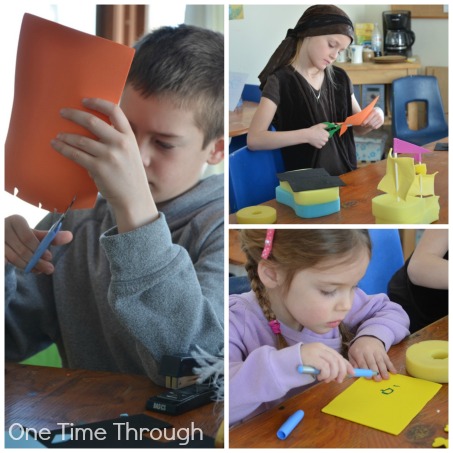
4. Have your child decorate the sails and flags with permanent marker or fun foam shapes or whatever else you like. If your child wants to use fun foam shapes to decorate, I would strongly advise using a glue gun or stapler to help them stick permanently.
Putting the Ship Together
1. Using the BBQ skewer, poke holes in the sponges where the masts are going to go. Make sure you have at least one mast going through both sponges. This one will hold the pirate ship together.
2. Now poke a hole in the top and the bottom of each sail and thread the mast through the holes. Poke the masts into your ship.

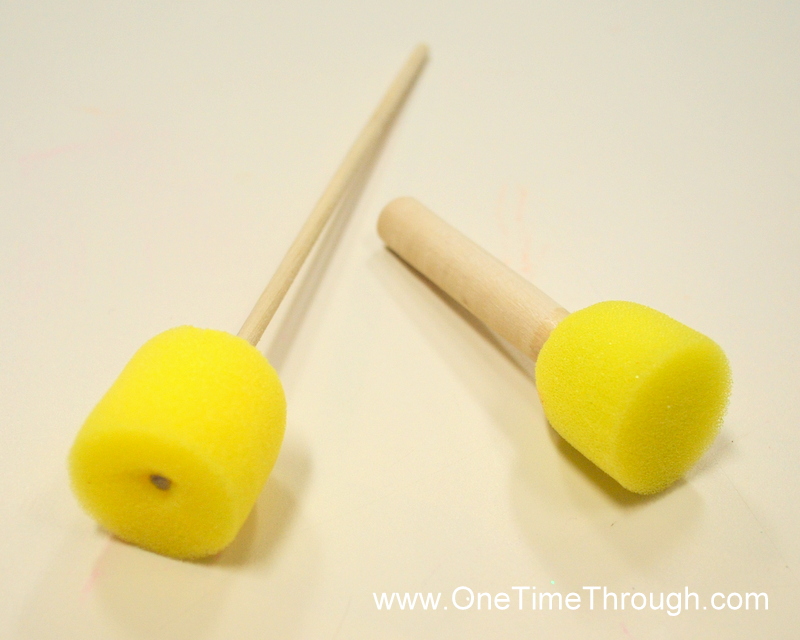
3. To make the crow’s nest, carefully peel the sponge off a sponge paint dabber, poke a hole in it and then slip it onto the mast above a sail.
4. To make flags, fold the wide end of a foam triangle over by about 2cm and staple it. Then slip it onto the mast. You can trim it a bit to make it look nicer.
5. Decorate the ship with permanent marker. You can add portholes, gunports, cabin doors and a name! Here’s a great link to help come up with fun pirate ship names – Fantasy Name Generator.
6. Add anything else to the ship to make it unique – try ropes and rigging, a steering wheel, a treasure chest, an anchor etc. Kids always blow me away with their cool ideas.
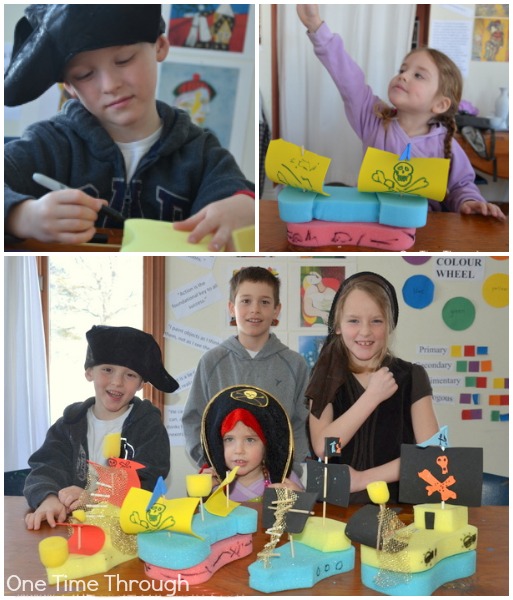
Thanks to these super-creative sponge ship builders for their help!
 Captain’s Tip:

If you want to make the ship even more seaworthy, add some hot glue between the sponges and to help keep the masts in and the flags on. Not necessary – but worth it. My son has been playing with his ship for almost a year now and it shows no signs of falling apart!
These ships float really well and can be used over and over again as long as they are squeezed out after use. Onetime had a blast with his – as did the four kids in the pictures (aged 3 to 10).
To find even more fun and educational activities as well as positive parenting tips, follow us on Facebook and Twitter.
For more awesome pirate-themed activities and crafts, visit our PLAY page.

Check us out on Pinterest to find even more unique pirate crafts and activities! Follow Sue @ One Time Through’s board Pirate Art and Activities on Pinterest.
Happy Sailing Landlubbers!


so awesome!!
Thanks for dropping by Susen!