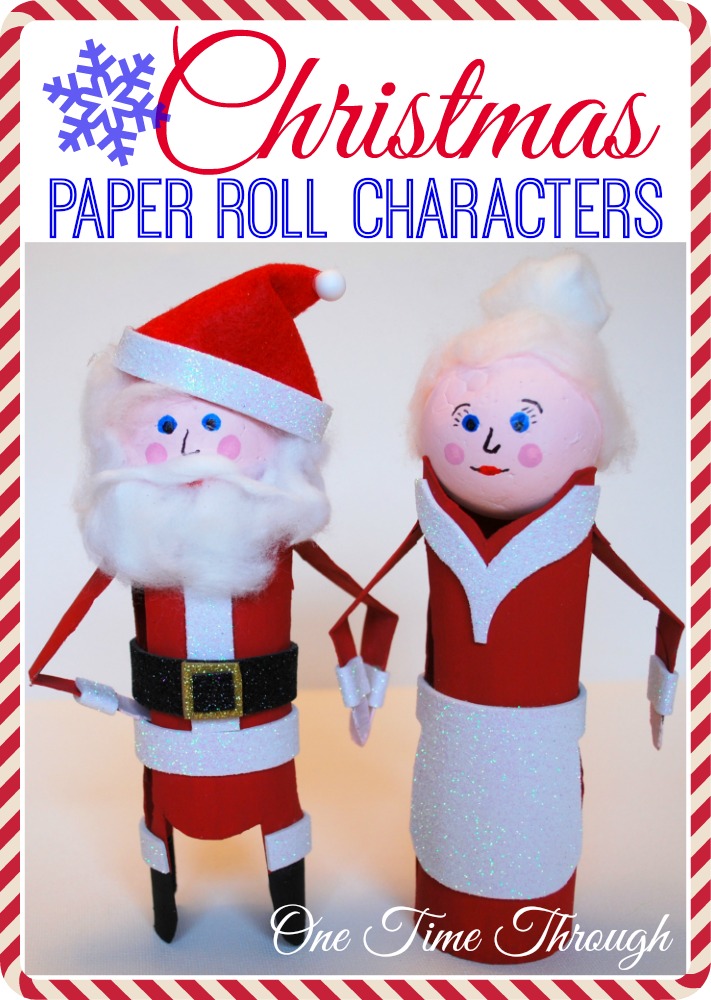
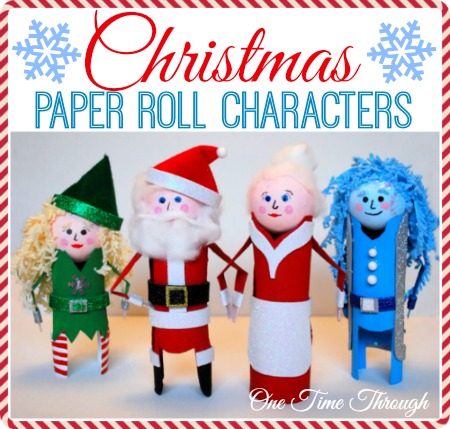
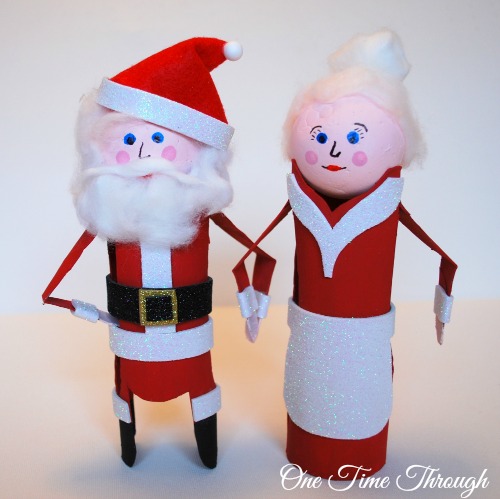
Check out the instructions below for these easy to make – and super-adorable – Christmas paper roll characters! Your kiddo will LOVE making and decorating his/her own little Santa, Mrs. Claus or other North Pole characters!
This post contains Amazon Affiliates Links for your convenience. Please see our full Disclosure Policy here.
Although these aren’t a craft that young children can do by themselves, it’s a fun project to do together as a family with kids of all ages. Once completed, these characters can be used to decorate a mantel, or as ornaments, as an alternative to the Elf on the Shelf, or just for creative play.
 You Will Need:
- A glue gun or PVA glue
- 1 paper towel tube per character
- 1 x 1.75″ styrofoam ball for each character
- Acrylic paint in red, white, and green (if doing elves) and blue (if doing Jack Frost)
- Small paintbrushes and paint tray
- Markers for decoration (We use paint markers for details on the clothing and faces!)
- Cotton balls for hair for Santa and Mrs. Claus, fuzzy yarn in a colour that looks like hair for the elves and Jack Frost
Optional: Sparkly fun foam (even easier if it has an adhesive back), coloured scraps of material, green and red felt scraps, mini pom poms, mini foam balls, sequins, little bells, googly eyes, etc. for decorating
Make Your Own Christmas Paper Roll Characters
Step #1: Start by cutting out the character’s limbs.
Decide how tall your character will be and cut the paper towel tube that length. We did about 2/3rds of a paper towel roll as height. At one end of the tube, cut out legs on the front and back by cutting out an upside down U-shape.
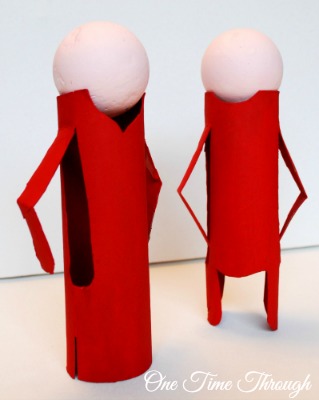
On each side of the tube, stick the tip of scissors into the roll and cut out an arm shape. The arms are a bit tricky to get right – and it might be best for an adult to do this part. Use sharp tipped scissors to make it easier and draw a line where the cuts will be made before you start.
I love my Bee scissors because they are small enough for Onetime to handle, and sharp enough that he doesn’t need to use a lot of pressure to cut. I’m always right beside him when he’s using them. Their sharp point is also perfect for cutting out these arms.
To make the arms look natural, have the hand extend down to knee-level and bend at an elbow spot.
Step #2: At the head end of the tube, cut out a collar or neckline. Think V-neck, scallops, scoops and shirt collars. This also helps the foam head to sit in and stay on the doll. You might want to do some online research with the kids to find pictures to base your characters on – or go totally free style.
Step #3: Paint the styrofoam balls a light pinkish skin colour. Jack Frost can be left white or made light blue.
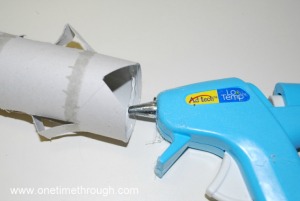
Step #4: Using a glue gun, put glue on the inside of the “collar” and stick in the styrofoam ball. Children as young as 7-8 can learn to use glue guns safely, but I would still strongly recommend you stay with them the whole time they are using this tool!
Step #6: Add the face with permanent marker or paint markers. Keep it simple, and add expression with the eyebrows and mouths! Have your child practise on paper first so they’re confident they’ll like what they do! We used a Q-tip dipped in pink paint to give our characters rosy cheeks!
Younger kids can always glue on googly eyes and a small pom pom for a nose instead.
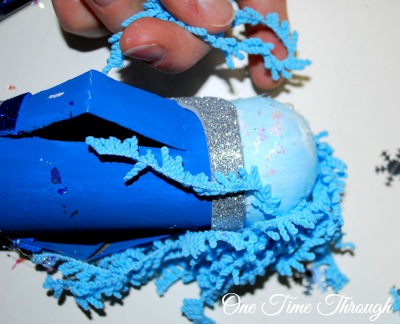
This part is best done by an adult, but if you use longer pieces of yarn, your kiddo can give the doll a haircut to make it look just the way he or she wants. So much fun!
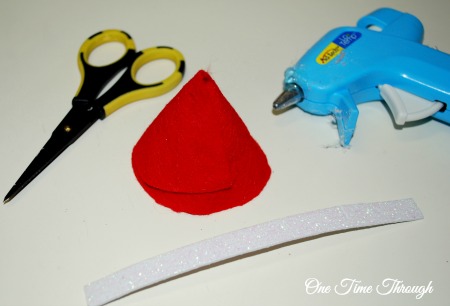
Belts are just strips of glitter fun foam with squares of fun foam for buckles.
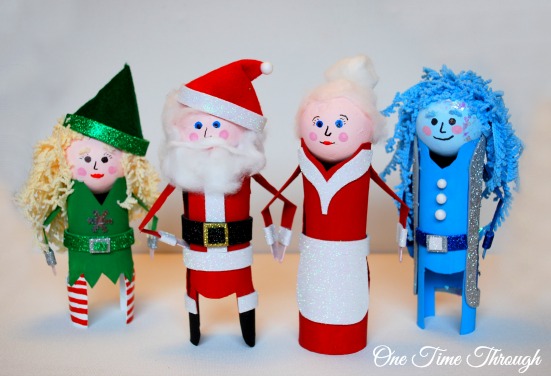
They are just so cute – with their huge heads and bendable arms!
Last notes: Obviously, I did the decorating on the dolls in the picture, because I wanted to show you different things that could be done with older children. But kids as young as 2 can enjoy decorating their own doll if you’re willing to prep it for them by cutting out the limbs and gluing on the head. So many possibilities! A fun creative craft for a snowy day!
That’s it for our Christmas Paper Roll Characters. I hope you give this a try and your child enjoys it! I would love to see any photos of creations you make – please share them on our FB page.
And if you’re looking for other Christmas kids’ crafts and activities, be sure to follow our Pinterest board: Follow One Time Through’s board Christmas on Pinterest.
To find even more fun and educational activities as well as positive parenting tips, follow us on Facebook, Twitter, and Google+.
And if you don’t want to miss out on any more of the fun we have here at One Time Through, sign up for our NEWSLETTER today. You’ll receive notifications by e-mail of new posts and you’ll also receive access to your FREE copy of all our newest printables!
Happy Crafting!
