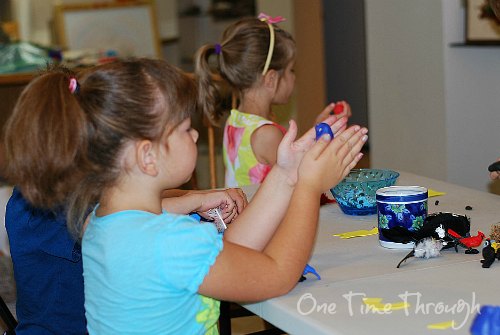
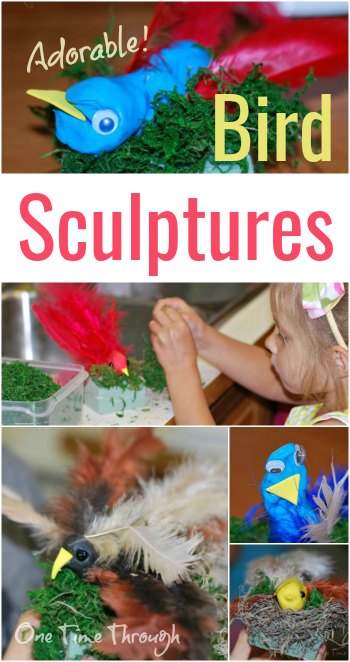
Today’s activity is so simple that you might think it’s silly to share. But I’ve done it now with at least 40 kids aged 4 to 9 and they all had a great time creating their own bird art.
Sometimes, the simplest activities really are the best – especially when they involve a little scientific inspiration!
Amazon affiliate links are used in this post. Please read my disclosure for more details.
Why study birds?
Kids fall in love with birds once they start learning a bit about them.
Maybe it’s because there are thousands of different kinds of birds. Or maybe it’s because our kids see them everywhere they go…their neighbourhood, the beach, the woods.
If you have a dinosaur lover, they may even have heard that birds may be the living descendants of dinosaurs!
My son, Onetime, has fallen so in love with birds that he asked for a bird themed 6th birthday party this year! (Yes, it was a weird theme, but we had a ton of fun!)
Spark the Interest!
Before you try this activity, you might want to get your child doing a little bird-watching first. Here are some things that we’ve had fun doing:
- Go on a nature walk and take some binoculars. Try to spot as many different birds as you can.
- Walk around the neighbourhood and just look for signs of birds (nests, poop, seeds, actual birds! etc.)
- Go outside and just listen for birds. Then see if you can spot them. Try to re-create their calls. Some birds like doves will often coo back when you “talk” to them!
- Watch some short videos about birds on YouTube. My son and I liked this one for helping us identify different birds in our neighbourhood by their calls!
- Get a great book about local birds out of the library.
My personal favourites for kids are these two. Click on the pictures below to read the descriptions and reviews on Amazon.
![]()

![]()
- Set up a bird feeder, string feeder or bird bath in your yard and watch what happens.

- Buy a crow caller
 and take it out to the woods and see if you can attract these highly social and intelligent birds.
 - Talk about the visible characteristics that all birds share – beaks, feathers, wings. FYI – All birds also lay eggs and have hollow lightweight bones. Cool huh?
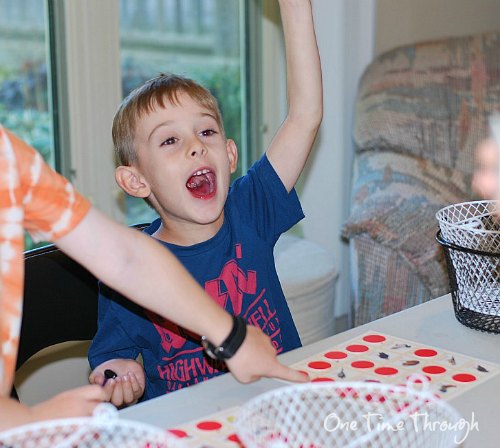
- Play birdie bingo with a group of kids to learn about the amazing variety of colours, shapes and habits of birds. (We played this one at Onetime’s birthday party and it was a big hit!)


Materials to Make a Bird
- Plasticine (whatever colours you’d like, kids seem to like red, blue and black)
- Craft feathers (a variety of different shapes, sizes and colours is fun!)
- Small round black beads for realistic looking eyes, or googly eyes for silly birds!
- Pipe cleaners for feet
- Optional: Florist foam (for a mount for the bird)
- Optional: Nest materials (twigs, moss, string, greenery collected from a nature walk, etc.)
- Optional: Hot glue to make nest
Create a Bird
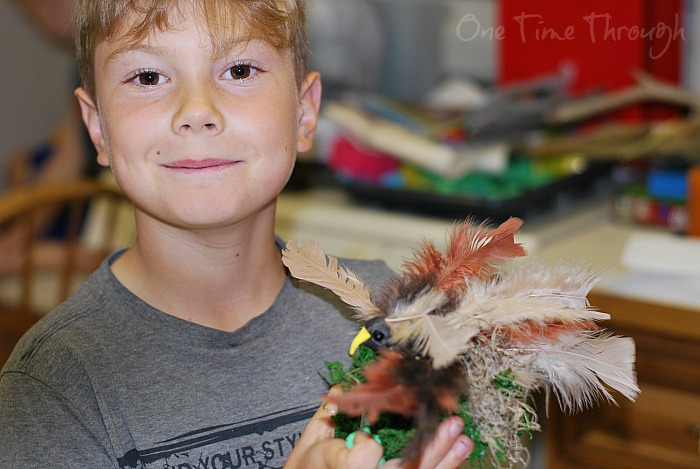
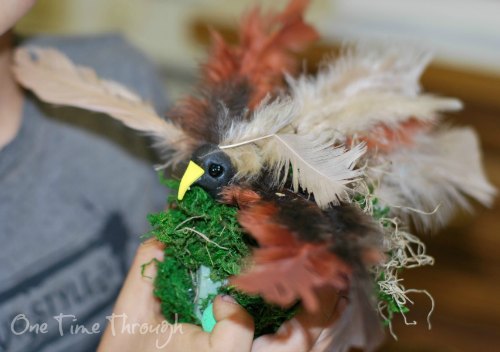
Get some coloured plasticine and show your child how to mold a basic head and body shape.
I like to tell the kids that there really is no right or wrong way to do this! There are fat birds, skinny birds, birds with huge heads and no necks, and those with big fat bodies and long skinny necks. You get the idea!
 Supply feathers and have your child add wings and a tail. They can use as many as they like!
All they have to do is press the wings into the plasticine a couple centimetres and they stay on their own.
Gently push small beads into the head for eyes.
You can talk to your child about the fact that many birds have their eyes on the sides of their heads so they can see all around them to stay away from predators.
Birds that are predatory, like hawks, eagles, and owls have their eyes on the front of their heads so they have binocular vision which is good for judging distances when hunting.
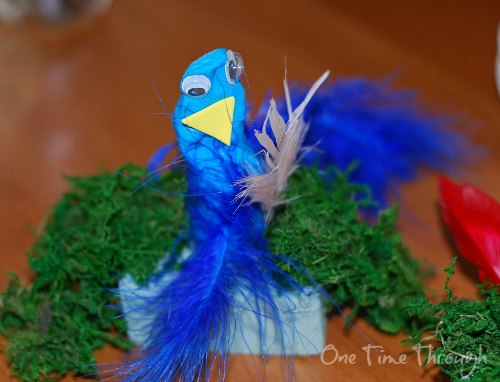
Create a beak with plasticine, or a small piece of paper or fun foam.
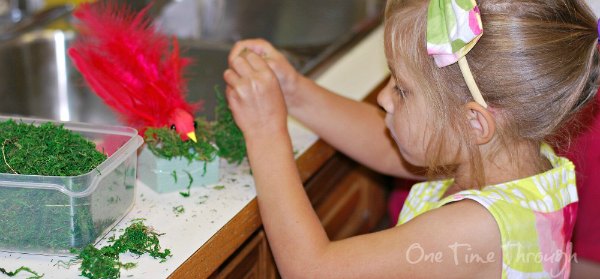
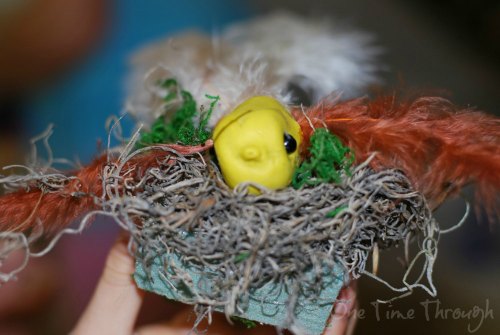
Create legs for the bird with pipe cleaners, or instead, press a pipe cleaner into the bird’s body and then into a small hunk of florist’s foam to create a little nest for the bird to rest on.

Decorate the nest with a variety of nesting materials like little stick and twigs, or Spanish moss, or greenery collected from a walk around the neighbourhood.
We used a glue gun to stick our nest materials onto the foam.
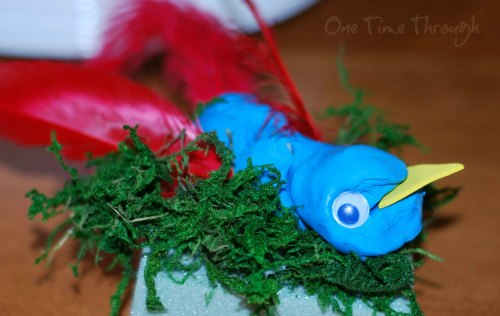
Sit your bird in its nest! Give it a name! Ta-da! All done. Told you it was so simple it was silly! (Okay – how cute is this little blue-red bird!?)
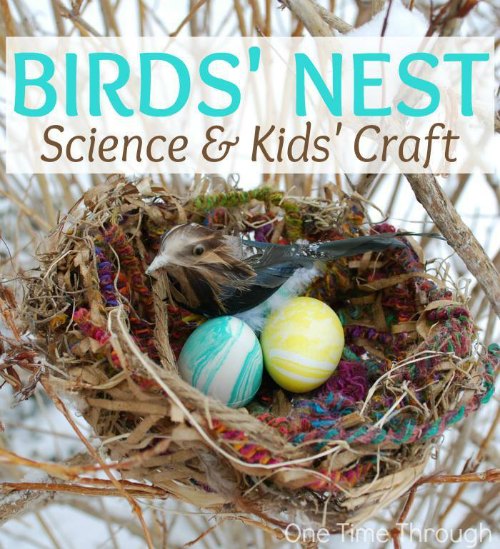
You might also be interested in this activity…
Will you give this activity a try? I’d love to hear your ideas or see pictures if you do! Share them in the comments below!
Follow me on Facebook and Twitter!
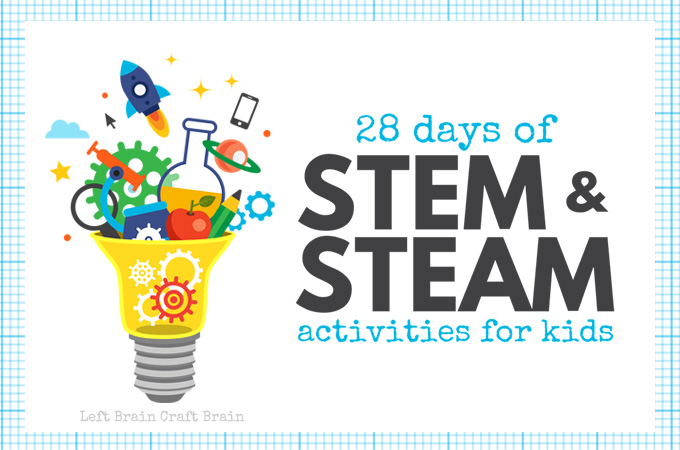
Today’s post is a part of a fun STEM and STEAM series going on this month hosted by my friend Anne at Left Brain Craft Brain. Be sure to drop by her blog to learn more about this awesome 28 day series full of fun activities for kids to try at home or at school!
Happy birding!
